Previous: Fuel Tanks (continued) |
| |
|
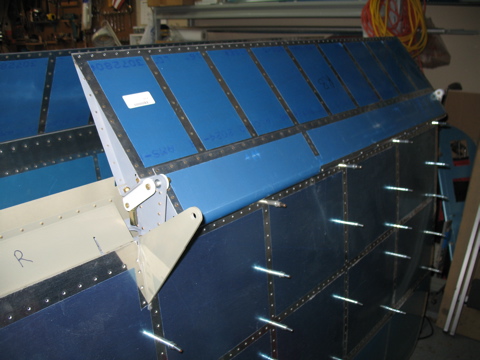
4/10/07 - Ailerons - 4 Hours
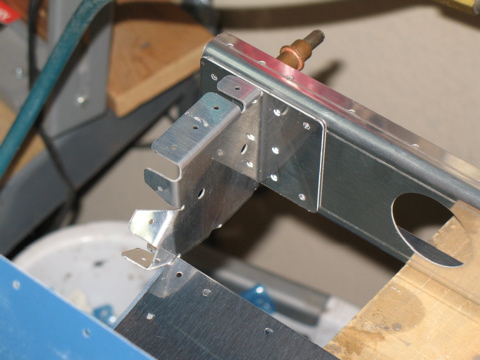
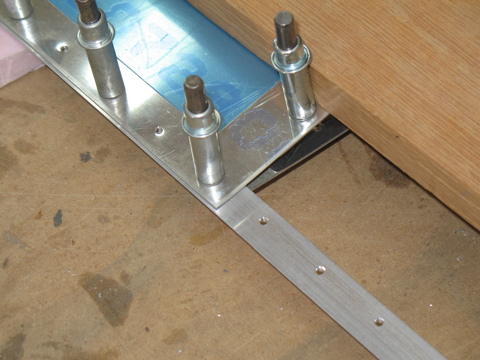
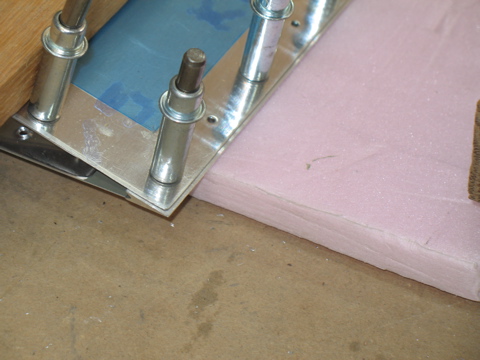
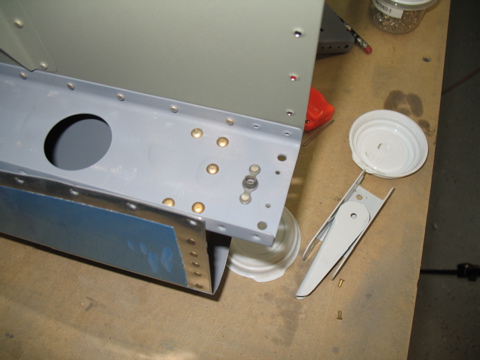
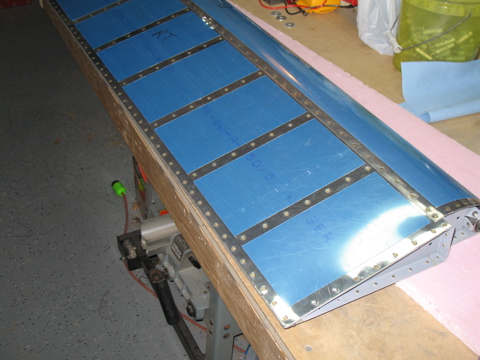
Time to start working on something different. So, I spent some time with the aileron components. I started by removing the plastic from the parts and marking the left and right sides. |
 |
| |
|
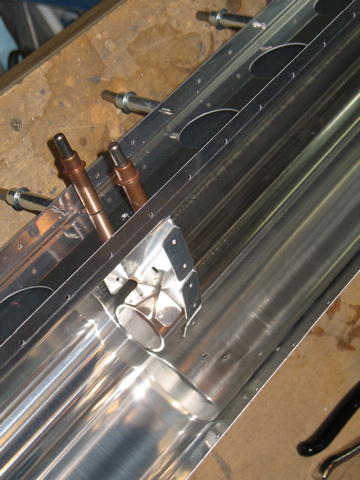
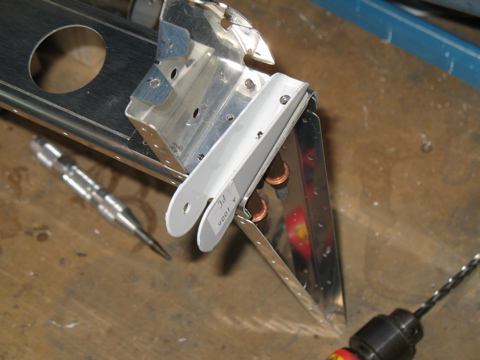
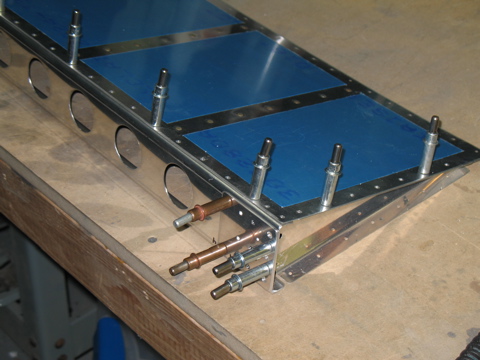
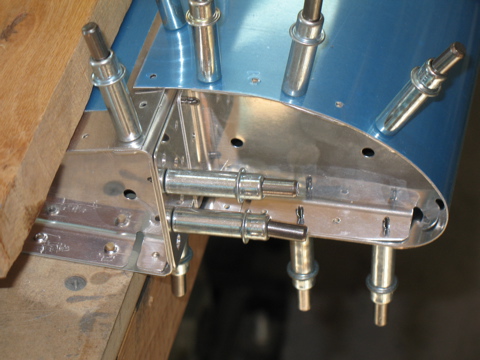
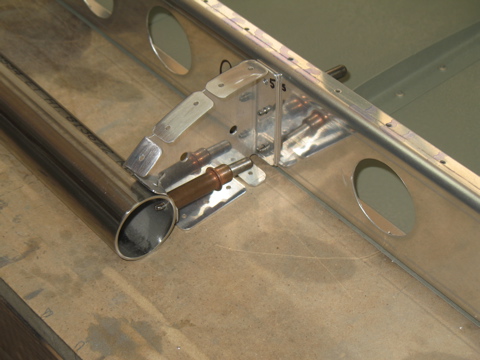
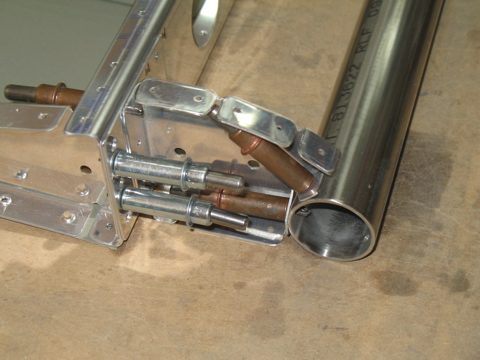
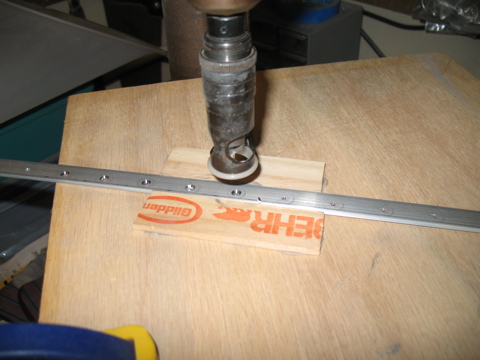
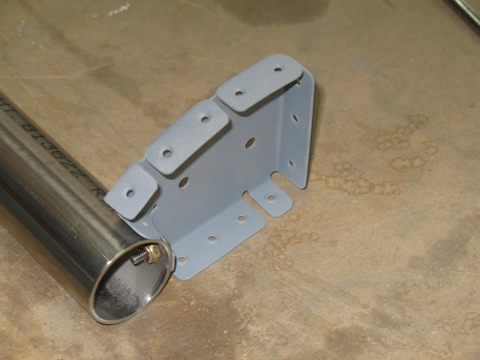
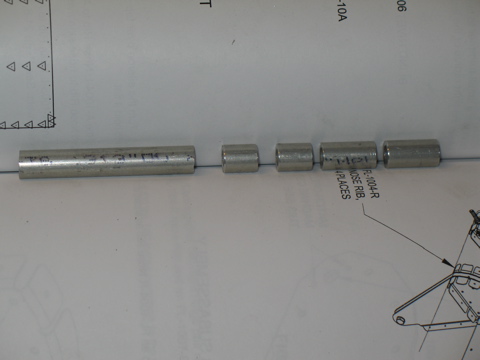
The counterbalance weights are heavy pieces of stainless pipe that are mounted in the leading edges of the ailerons.
|
 |
| |
|
| |
 |
| |
|
| |
 |
| |
|
| |
 |
| |
|
4/12/07 - Deburring, Dimpling - 3 hours
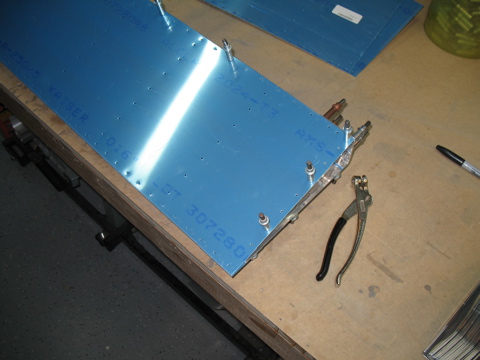
Instead of attending the local EAA chapter meeting, I decided to get back to work on the plane. I deburred all the holes on the aileron skins and stiffeners.
I also deburred and then dimpled the ribs where the bottom wing skins will attach. This is a task that I have postponed for too long.
|
 |
| |
|
4/14/07 - 4/15/07 - Dimple/Prime - 10 hrs
The weather hasn't been helping me out lateley. I need a nice, non-windy day so I can do a bunch of priming. So I was pleased when Sunday turned out to be a very nice day.
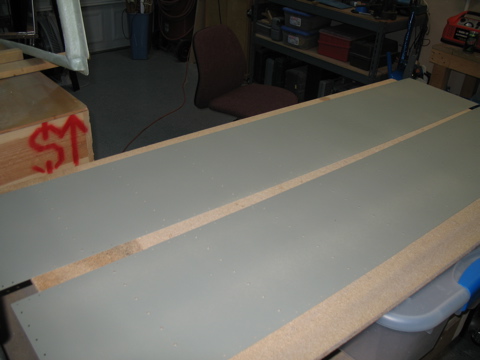
Fortunately I had spent a good part of Saturday dimpling and scuffing. I finished the bottom wing skins up, as well as the gap fairings.
All of this prep work took quite a while...probably six hours. |
 |
| |
|
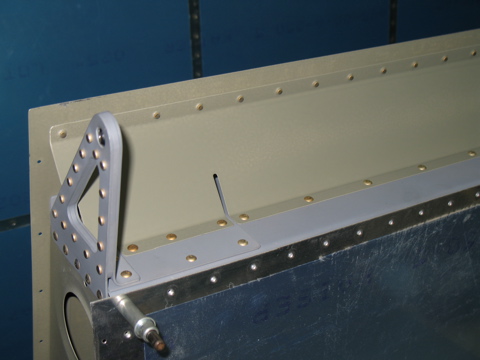
After priming all of the parts, I was able to finally install the gap fairings onto the wings.
|
 |
| |
|
One goof I made was that I forgot to mask off the trailing edge of each of the aileron skins. So, I'm going to have to scuff those. Oh well.
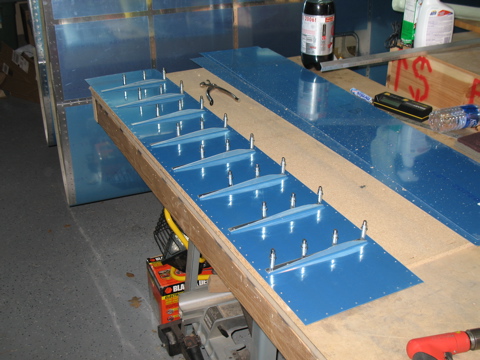
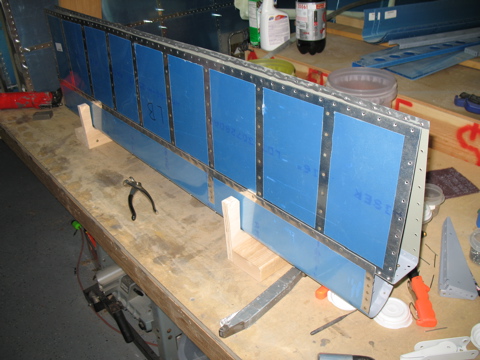
Next came the installation of the stiffeners. I did this using the back riveting plate. |
 |
| |
|
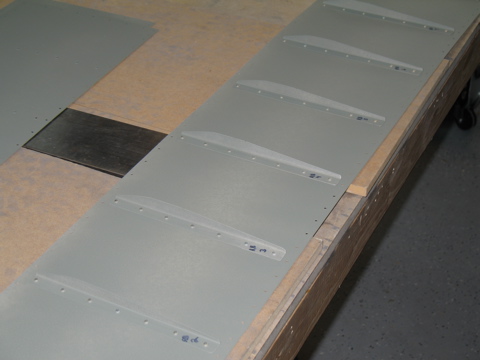
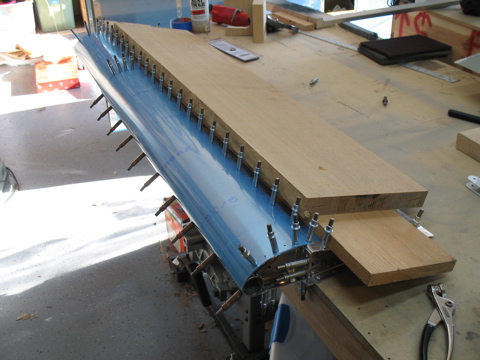
The last thing I worked on was to attach the lower aileron skins to the skeleton. I match-drilled the #40 holes.
|
 |
| |
|
4/16 - 5/12/07 - Aileron Work - 20 hours
Wow, it looks like another month has passed since I updated the site. That's mainly because I've spent so little time actually working on the project. Most work sessions have been less than one hour in length, which doesn't lend itself to lots of picture taking.
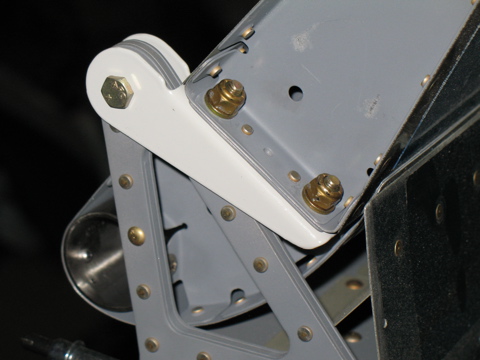
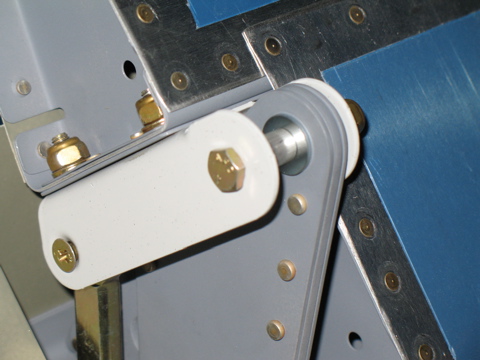
Anyways, I finally finished the ailerons so here are the pictures to prove it! |
 |
| |
|
| |
 |
| |
|
| |
 |
| |
|
| |
 |
| |
|
| |
 |
| |
|
| |
 |
| |
|
| |
 |
| |
|
| |
 |
| |
|
| |
 |
| |
|
| |
 |
| |
|
| |
 |
| |
|
| |
 |
| |
|
| |
 |
| |
|
| |
 |
| |
|
| |
 |
| |
|
| |
 |
| |
|
| |
 |
| |
|
| |
 |
| |
|
Next: Flaps |
 |
| |
|

