Previous: Section 34-35 |
| |
|
Revisiting Section 31 |
| |
|
11/26/08 - Forward Fuse - 4 hours
I have been meaning to finish up this section for a while. In order to do so I had to make the rib modifications so my avionics will fit. So I cut the ribs and formed angle to reinforce them. |
 |
| |
|
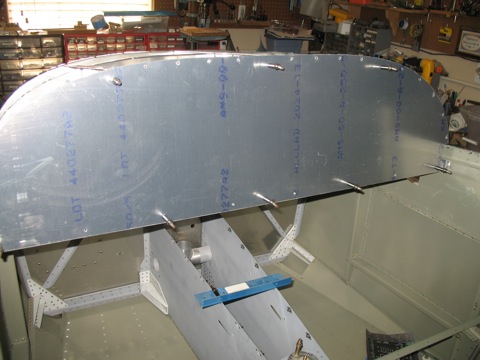
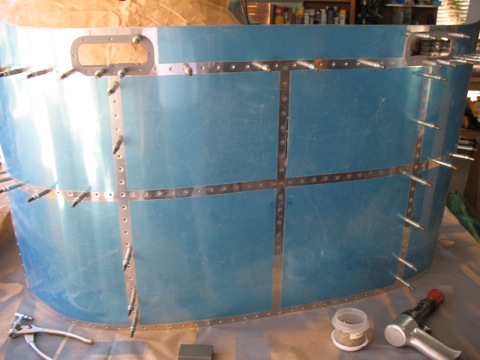
Another thing I did was to cut a new panel so I could get rid of the row of screws along the lower part of the panel. I used the original panel as a template to cut the shape and to drill the screw holes. I took the lower piece and cut it down and then re-drilled the screw holes along the bottom edge.
|
 |
| |
|
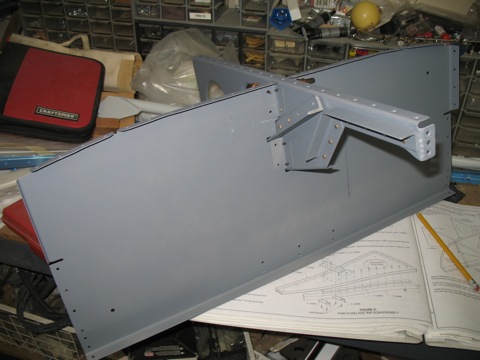
12/1/08 - Priming - 3 hours |
|
| |
|
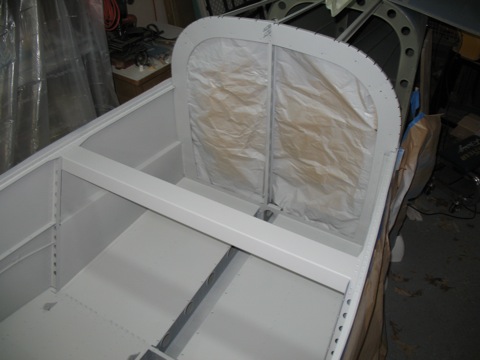
12/28/08 - More Assembly - 3 hours
Before getting to section 34 I have a few other things I need to take care of. So I finally assembled the forward fuselage. |
 |
| |
|
12/29/08 - More Assembly - 3 hours
|
 |
| |
|
| |
 |
| |
|
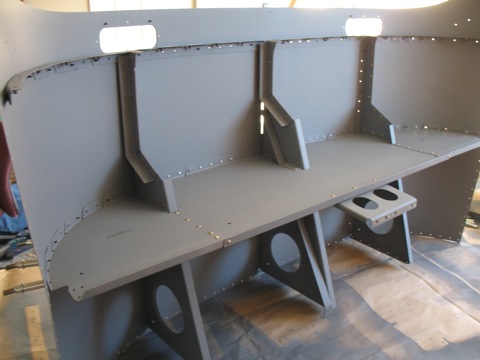
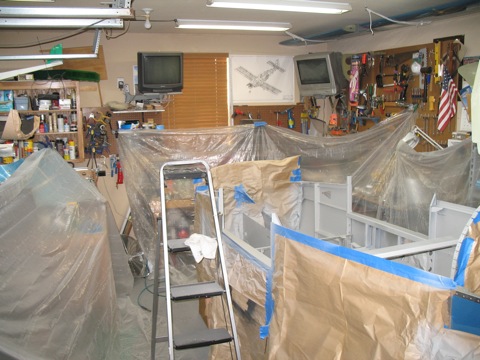
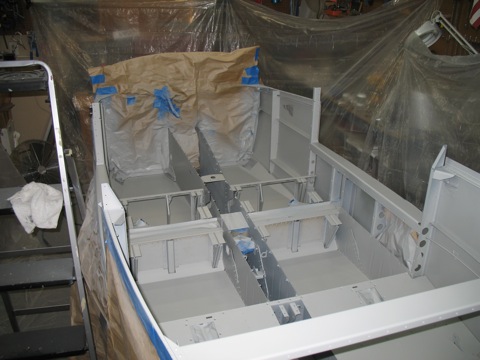
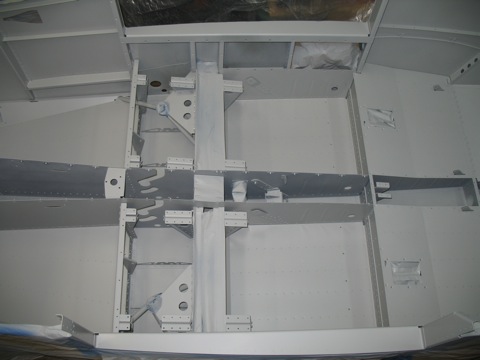
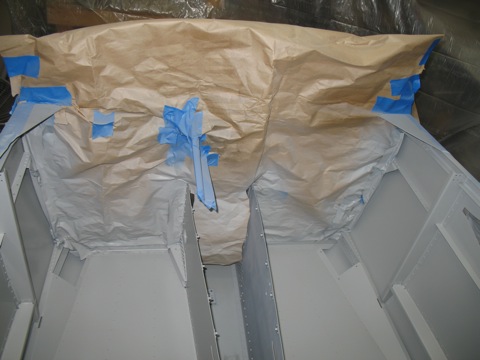
12/30/08 - Painting the Interior - 8 hours
Finally I am at a point where I can tape everything off and spray the interior with paint. So I went down to Lowes and bought a bunch of plastic tarps and masking tape. Then I spent the rest of the day getting everything prepped.
Finally I was able to shoot a coat of paint on the interior before dinner. Then after about 15 minutes I put a second coat.
The paint I used is Sherwin Williams JetFlex. I got it from TexAir. This is the same paint I used for the RV-9A. |
 |
| |
|
| |
 |
| |
|
| |
 |
| |
|
| |
 |
| |
|
| |
 |
| |
|
1/9/09 - Section 36 - 2 hours
Happy New Year. Time to get busy on this airplane.
Now that the paint has cured I can finally install some of the systems, starting with the brake lines. |
 |
| |
|
| |
 |
| |
|
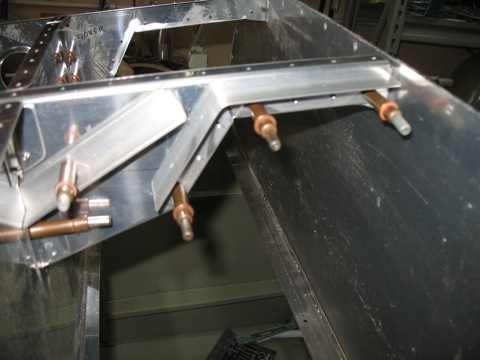
1/10/09 - Brakes, Fuel lines - 8 hours
The brake lines are pretty easy as they are made from easily bendable 1/4" soft aluminum tubing. |
 |
| |
|
I made the mistake of riveting the front vents to the sides of the tunnel. I now know why they have you wait to rivet these. It's because it would be easier to install the brake lines. So, since I already riveted them, I had to do a bit of juggling to make the brake lines.
|
 |
| |
|
| |
 |
| |
|
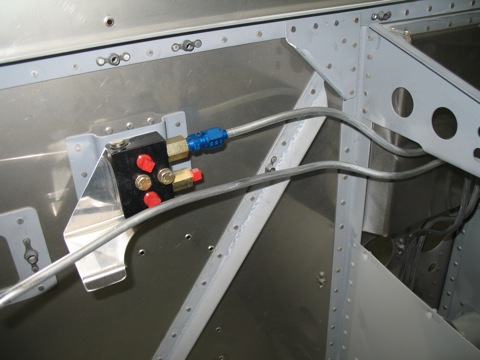
I am installing a parking brake valve. At this point I realized that I don't have all the fittings I need to complete the installation, so I guess Monday I will place yet anoter order to Van's.
I need three more AN816-4D nipple fittings. I also need to get a push-pull cable. |
 |
| |
|
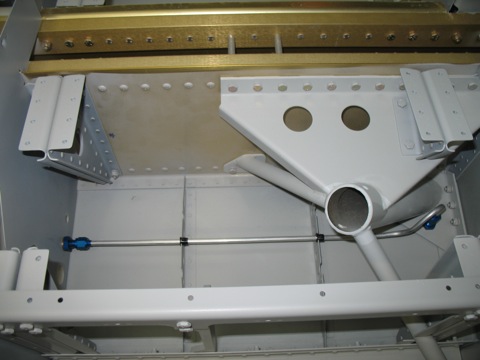
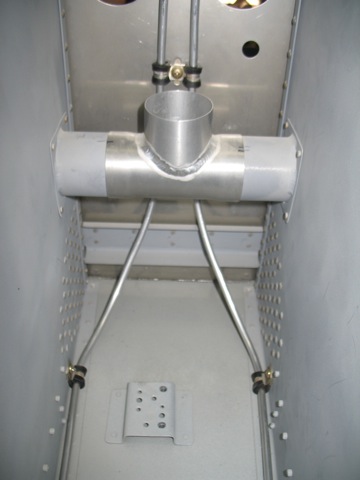
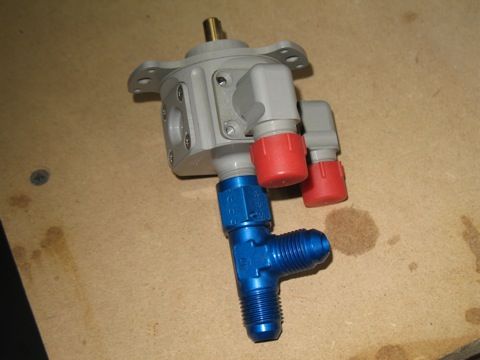
This is the Andair fuel selector, along with the F-Swivel Tee that I bought from Vans. Some builders have put the valve at the bottom of the tunnel and attached an extension to the switch that extends up to the tunnel cover. I am installing mine in much the same way as the stock fuel selector, so I am preparing to make my fuel lines in such a way to still allow the SCAT tubing to pass through without interfering with the fuel lines.
|
 |
| |
|
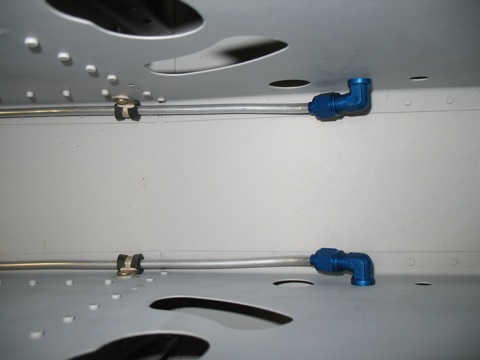
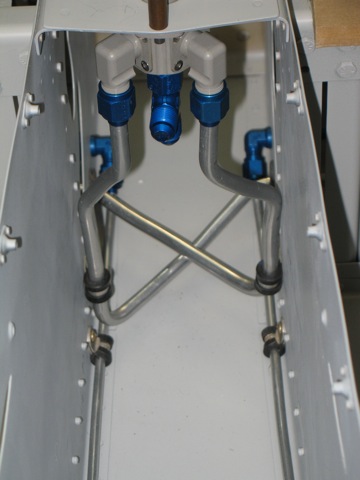
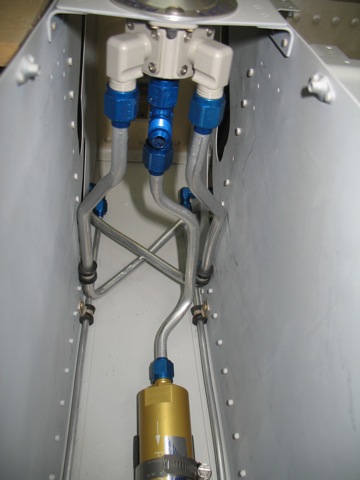
Here are the fuel lines that come from the wing tanks. This took a long time...probably two hours or more.
NOTE: this install was incorrect. Another builder caught my mistake and emailed to tell me that if I set it up this way, the Andair valve would operate backwards. So go see my note on section 41 for the new installation. |
 |
| |
|
| |
 |
| |
|
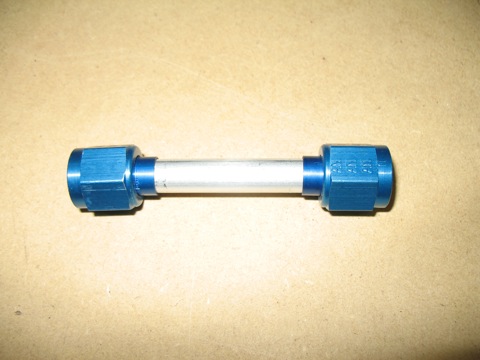
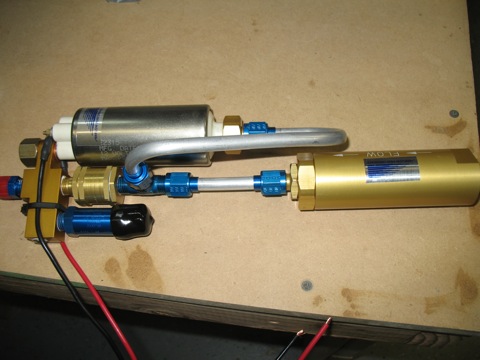
Here is one of a couple really short fuel lines that I made. They go between the filter and the pump, and between the pump and the fuel flow sensor...
|
 |
| |
|
...like this
|
 |
| |
|
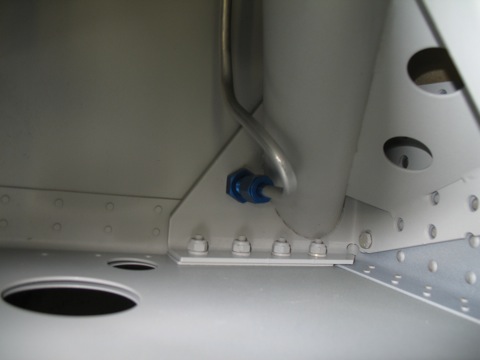
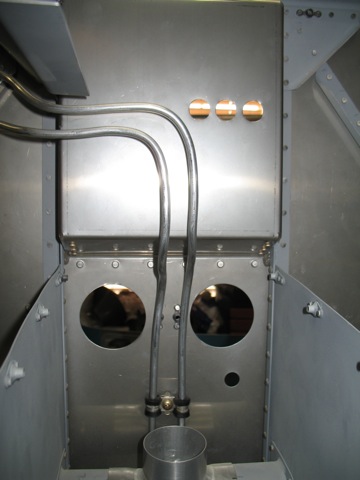
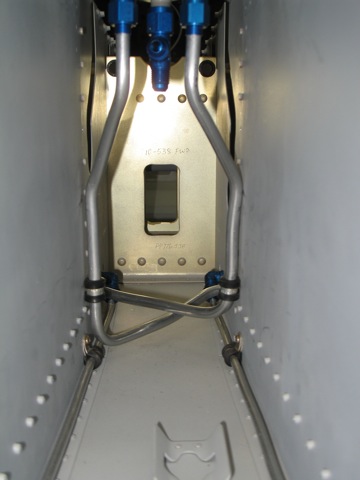
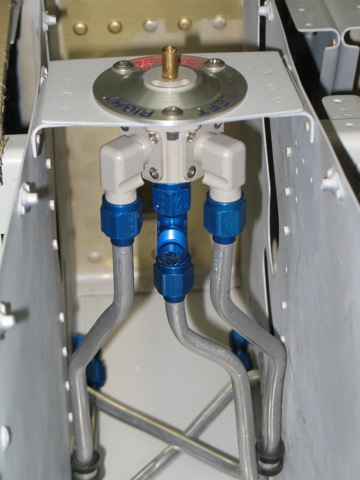
Here is the most difficult fuel line of all. I needed this one to be offset to allow the SCAT tubing to pass through.
|
 |
| |
|
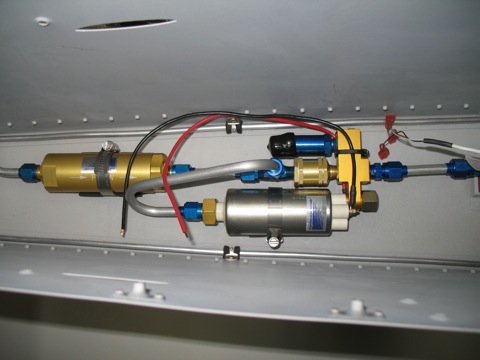
Here I have done the initial fitting of the fuel filter and pump.
|
 |
| |
|
I have one fuel line left to make...it attaches right there in the middle.
Next: Brakes & Rudder Pedals |
 |

