Previous: Flaps
7/16/07 - Tailcone - 20 hours
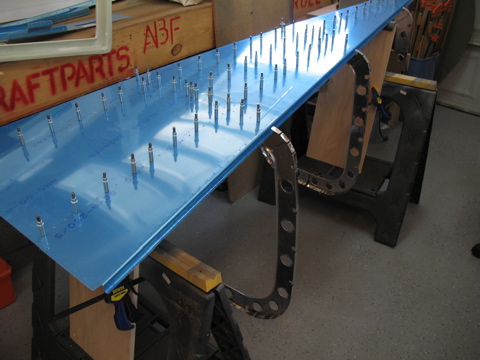
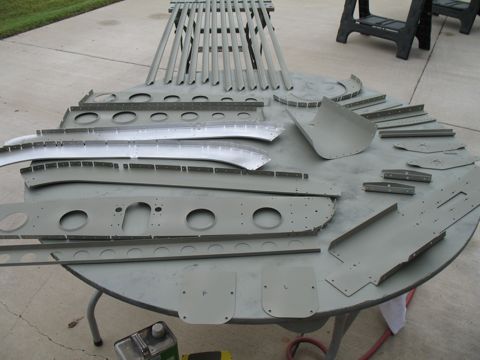
I'm getting ready to make the annual trip to Oshkosh, and I've told myself that I need to be working on the Fuselage. Well, since I put off working on the tailcone until the wings were done, I had to start on the tailcone first.
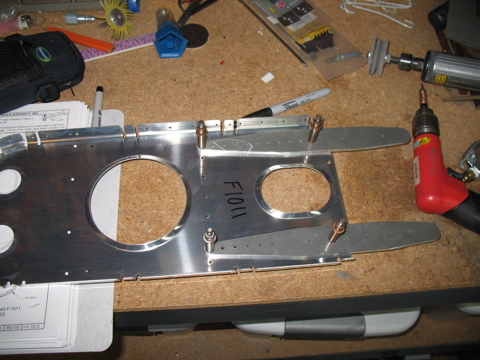
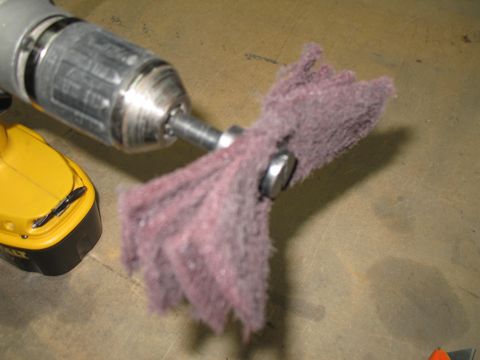
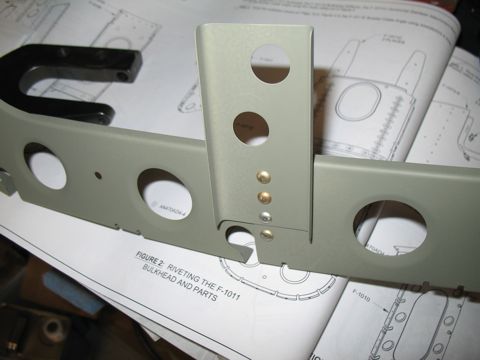
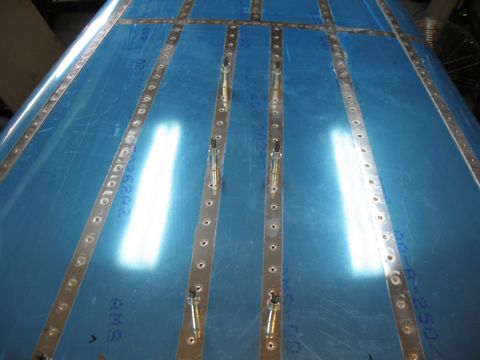
I removed blue plastic and deburred parts as I went. I have found that this works best and saves me from misalignment because of the layer of plastic. The parts fit together more accurately and damage is minimized because of the deburring. This is opposite of the plans, but I think it makes more sense. |
|
| |
|
| |
 |
| |
|
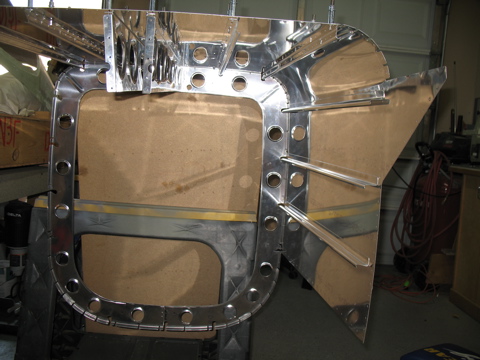
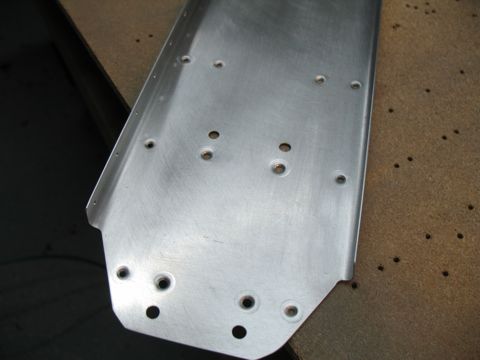
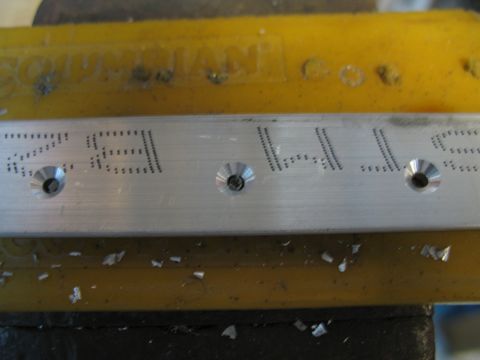
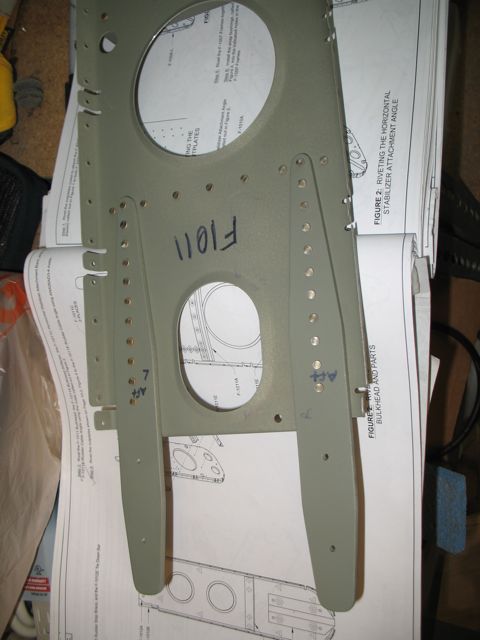
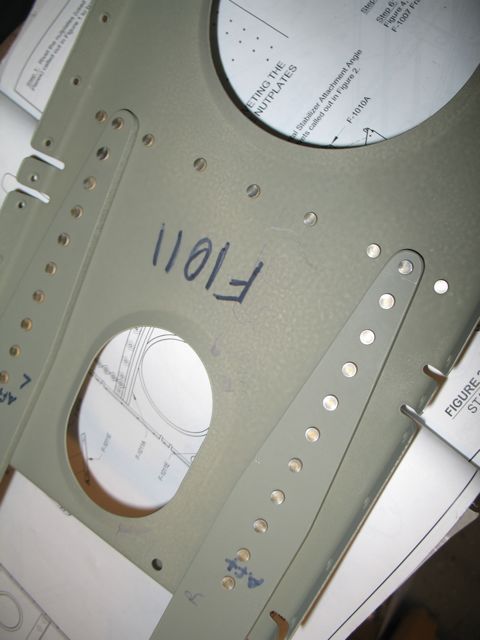
It's hard to see on this picture, but the angle is drilled and countersunk for platenuts.
|
 |
| |
|
| |
 |
| |
|
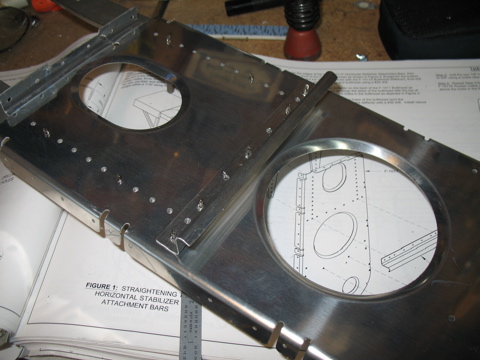
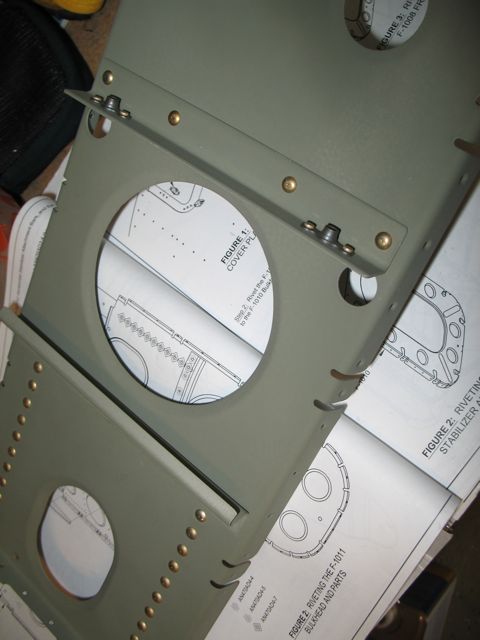
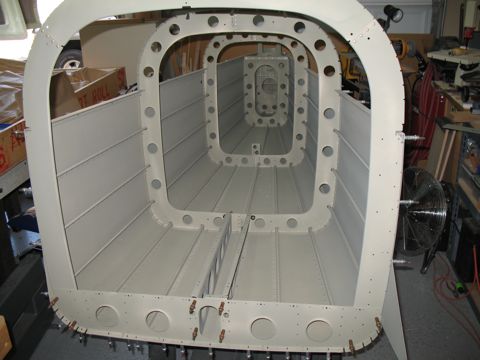
Again, as I assemble each of these bulkheads I am also taking the time to debur the edges.
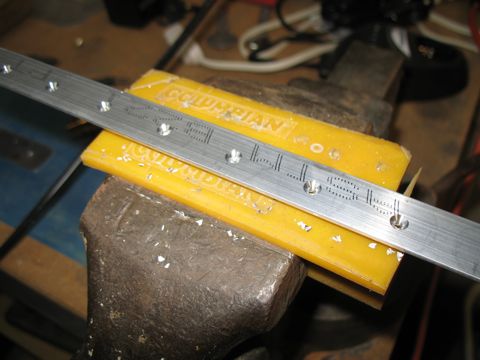
Not pictured is all of the measuring and cutting of the j-channel stiffeners that the instructions call for. I cut each of them and deburred the edges before moving on. |
 |
| |
|
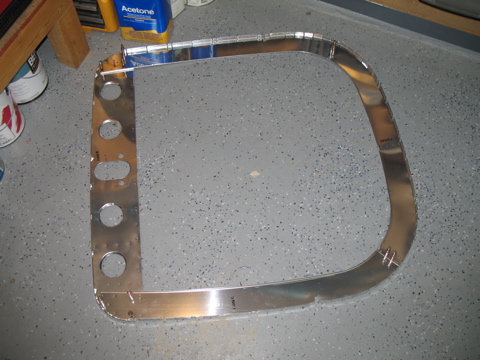
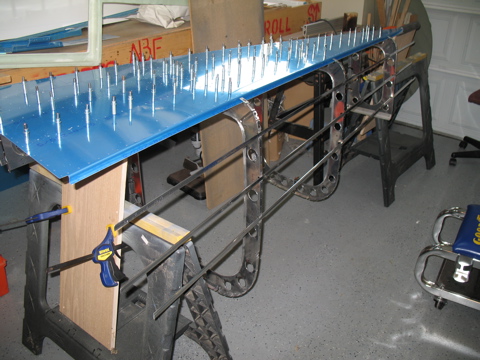
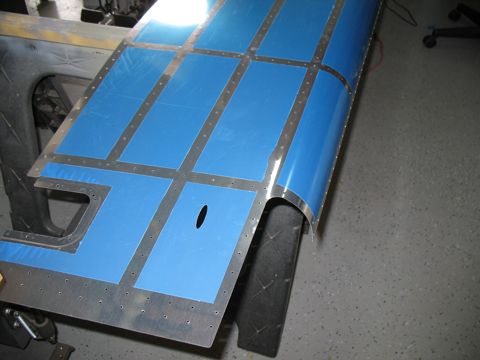
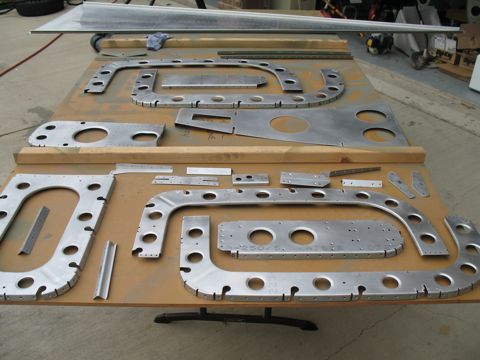
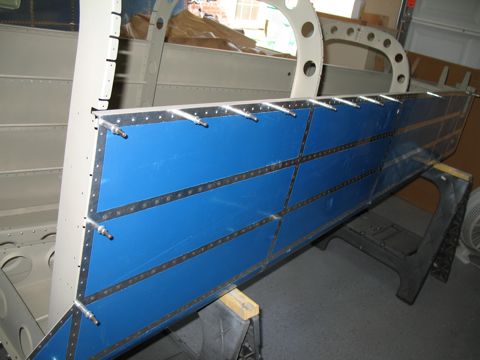
I did leave the plastic on the outside of the skins. I will remove it from the rivet lines eventually.
This is my first attempt at raised sawhorses. It wasn't high enough for subsequent tasks however.
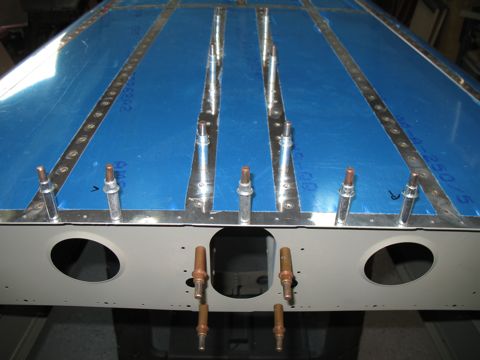
I match drilled the stiffeners through the bottom skin using the marked lines on the stiffeners as guides. |
 |
| |
|
Here you can start to see some of the problems I was having with my sawhorse configuration.
|
 |
| |
|
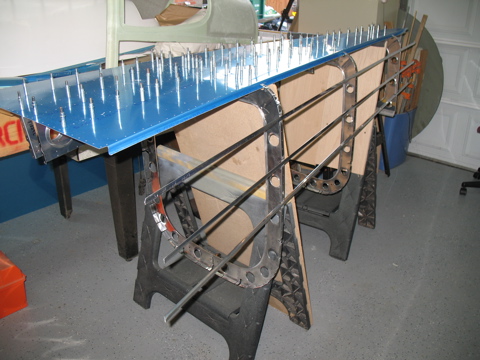
Next I made some changes to the sawhorses. I mounted some plywood to them to raise the work surface significantly. The plywood also goes all the way to the edge of the sawhorse, which is important.
|
 |
| |
|
Now I am able to attach the right skin.
|
 |
| |
|
| |
 |
| |
|
With the right side match-drilled, it was time to flip the whole contraption over.
|
 |
| |
|
| |
 |
| |
|
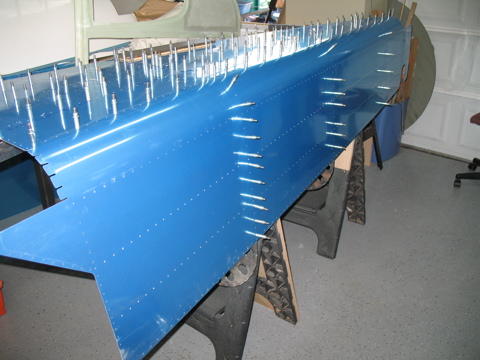
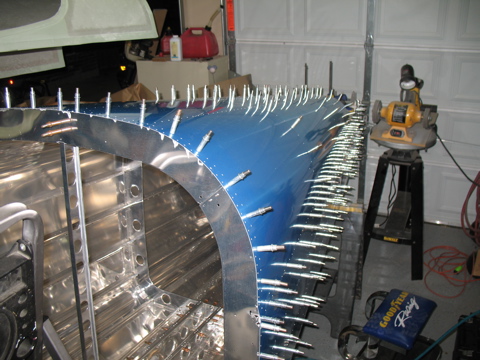
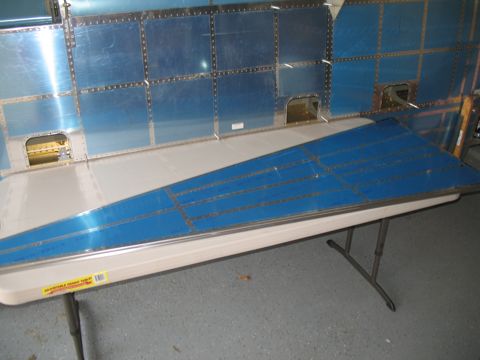
Here is the way it looked as I left for Oshkosh. Half of a canoe.
|
 |
| |
|
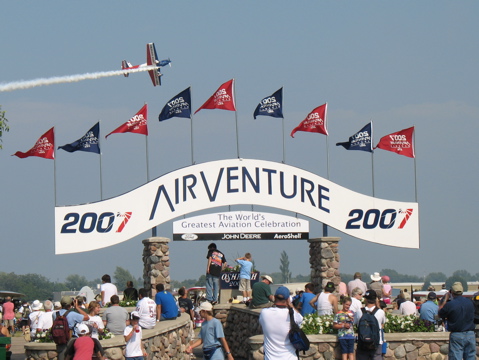
8/1/07-8/3/07 - Skins, etc. - 9 hours
I returned from AirVenture 2007 with a great resolve to make some serious progress on the plane. I saw many examples of completed RV-10s during the week. I flew behind Ray Doerr out of Kansas, who'se -10 is still not painted but flies great. There was a nicely painted Texas Tech RV-10 flown up from Lubbock by Russ Daves. I also got a look at Dan Lloyd's Subaru-powered RV-10. Talking to these guys who are flying -10s was encouraging to say the least.
The -9A flew perfectly and was once again an absolute joy to fly on a long cross-country. I had the plane loaded to gross and it still flew like a dream. |
 |
| |
|
One thing I learned from this year's AirVenture: This plane will be IFR equipped, and I will get my IFR certification. Like it or not, there are clouds up there, and I'd really like to be able to fly through them.
Thanks to the speed of the RV and the information on the Garmin 496, I was able to fly around the storms. My friend Todd flew home more slowly and had to spend the night in Fayetville, Arkansas on the trip home because of the weather.
So, RVs are great and XM weather is wonderful, but I need to be able to file IFR once in a while. |
 |
| |
|
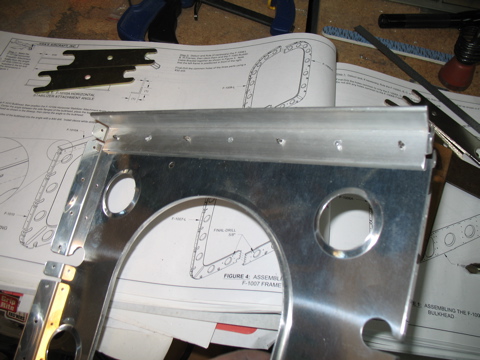
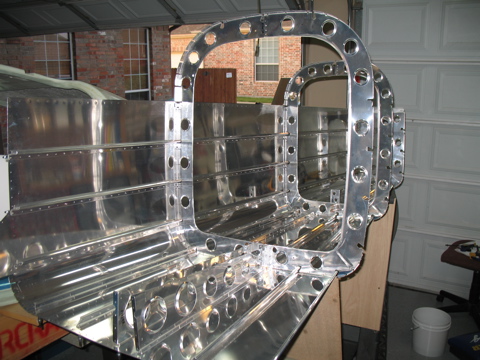
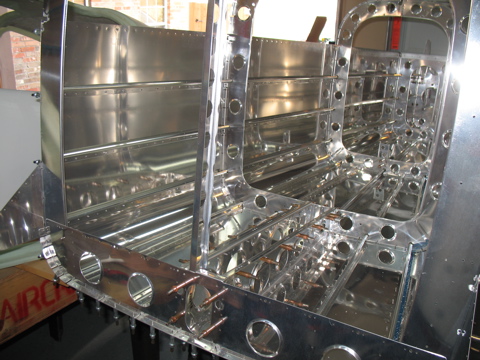
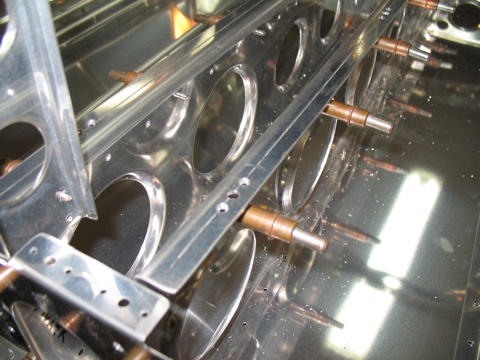
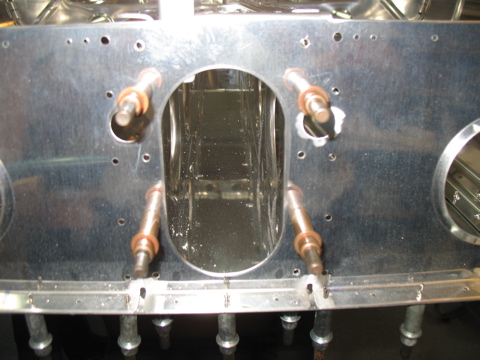
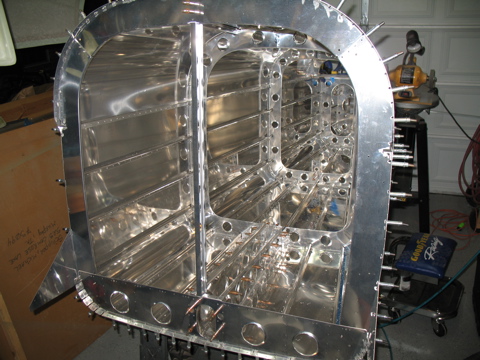
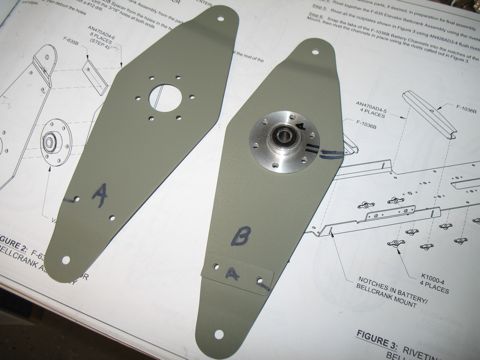
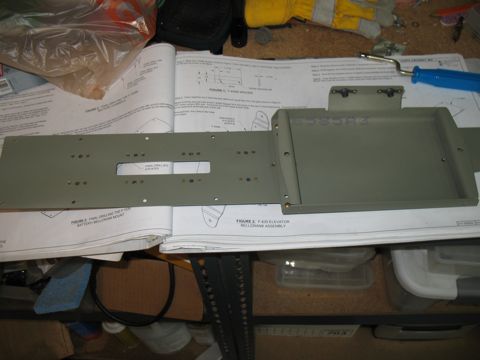
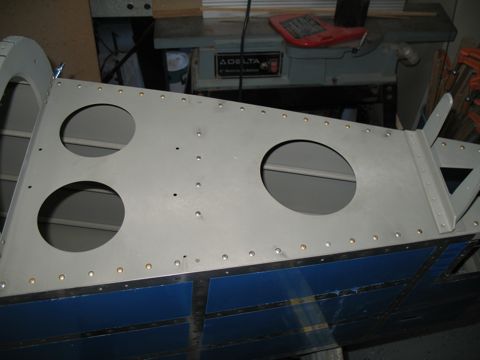
Back to the aircraft factory! I installed the 1006 bulkhead and the bellcrank support structure and match-drilled the holes.
|
 |
| |
|
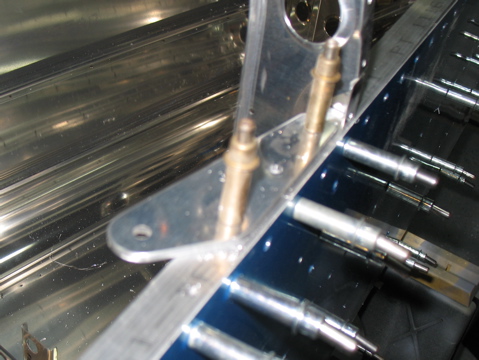
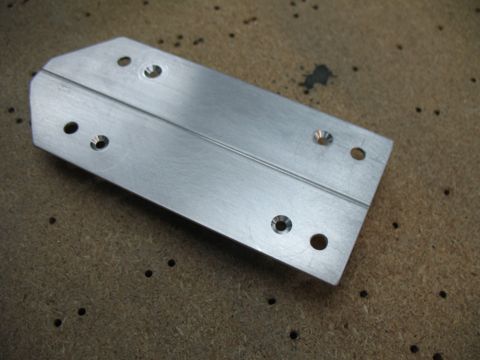
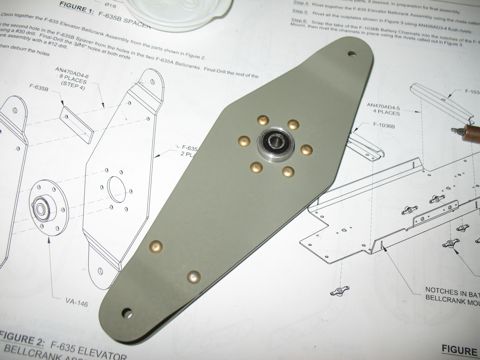
The stiffeners on the bellcrank supports are countersunk for platenuts.
|
 |
| |
|
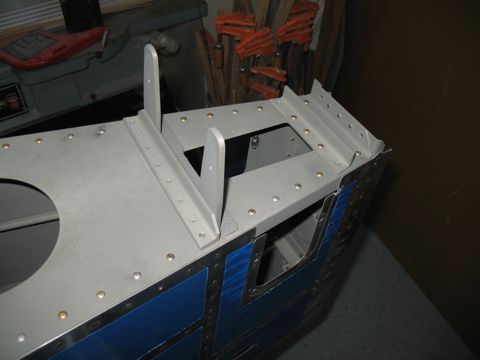
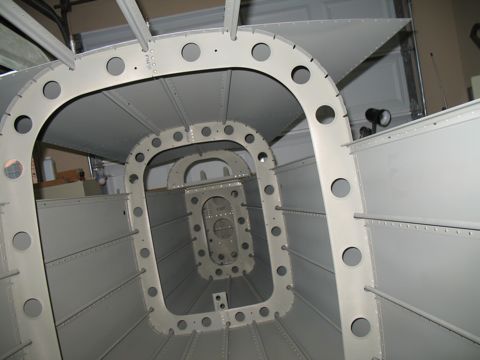
Here's the bellcrank pushtube tunnel.
|
 |
| |
|
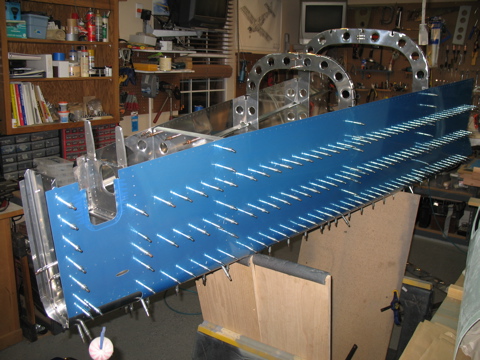
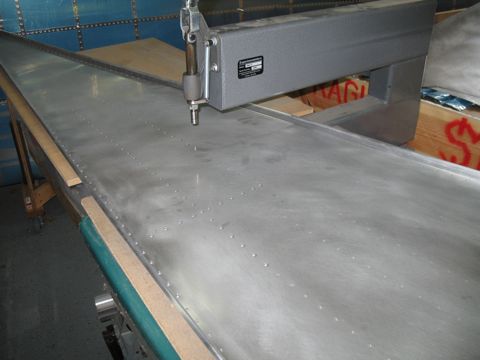
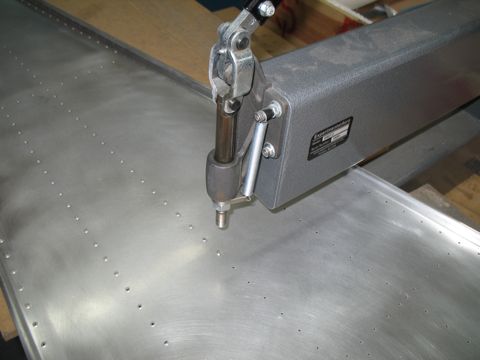
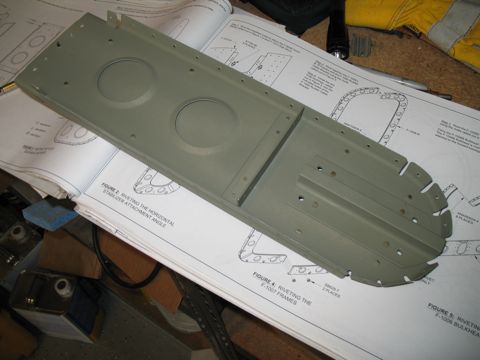
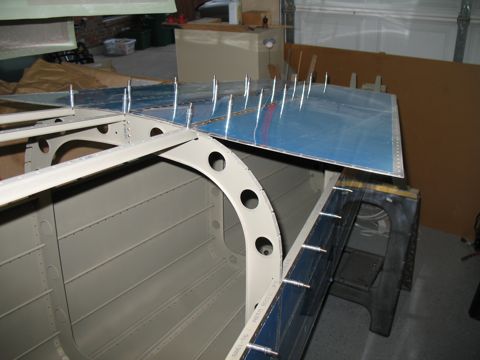
Next came the top skins. I didn't realize how many clecoes I would need for this plane. I guess I've sacrificed a bunch of them to ProSeal because I've run out of the #40s. I had to start shifting them from one section to another as I needed them.
I match-drilled the skins to the J-stiffeners, as well as to the longerons and the bulkheads. |
 |
| |
|
| |
 |
| |
|
| |
 |
| |
|
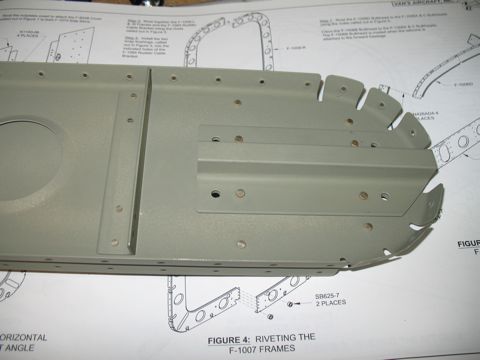
Next comes the aft deck. I match-drilled the longerons and the elevator stop and everything else that needed drilling.
|
 |
| |
|
| |
 |
| |
|
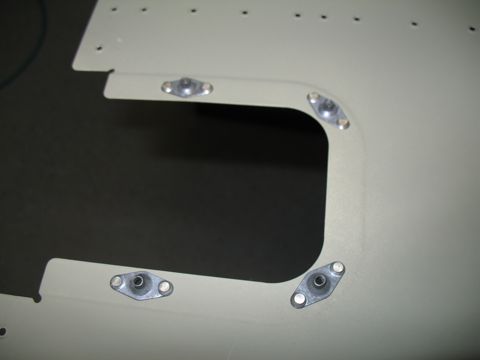
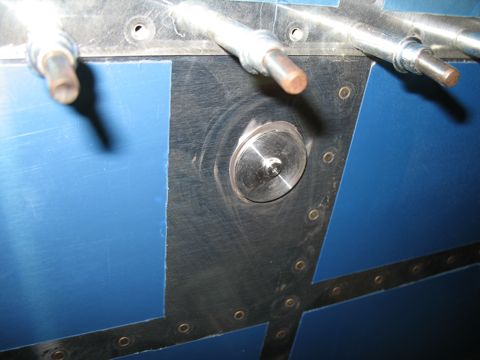
The last thing I did before leaving on another business trip was to mount the shoulder strap anchors.
|
 |
| |
|
8/8/07 - 9/16/07 - Misc. - 20 hours
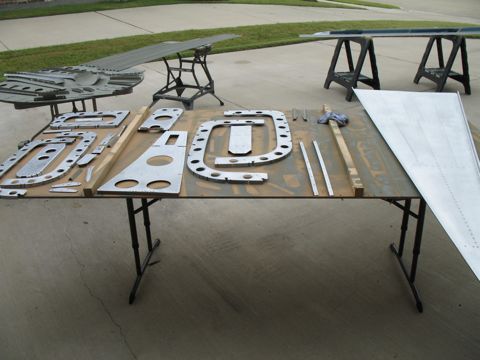
Well, I've really fallen behind and I don't have time to write about what I've done, so instead I'll just post the pictures so I at least have some record of my work. |
 |
| |
|
| |
 |
| |
|
| |
 |
| |
|
| |
 |
| |
|
| |
 |
| |
|
| |
 |
| |
|
| |
 |
| |
|
| |
 |
| |
|
| |
 |
| |
|
| |
 |
| |
|
| |
 |
| |
|
| |
 |
| |
|
| |
 |
| |
|
| |
 |
| |
|
| |
 |
| |
|
| |
 |
| |
|
| |
 |
| |
|
| |
 |
| |
|
| |
 |
| |
|
| |
 |
| |
|
| |
 |
| |
|
| |
 |
| |
|
| |
 |
| |
|
| |
 |
| |
|
| |
 |
| |
|
| |
 |
| |
|
| |
 |
| |
|
| |
 |
| |
|
| |
 |
| |
|
| |
 |
| |
|
| |
 |
| |
|
| |
 |
| |
|
| |
 |
| |
|
Next: Fuselage |
 |

