Previous: Elevators Part 2
As I mentioned in the last entry, I have decided to postpone the tailcone until I finish the wings. This is just so I don't have to deal with the tailcone being in my way while I work on the wings. |
| |
|
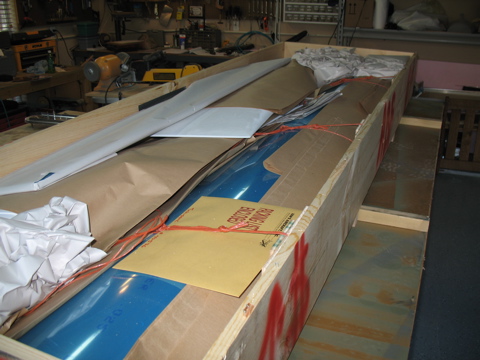
11/10/06 - Inventory - 4 hours
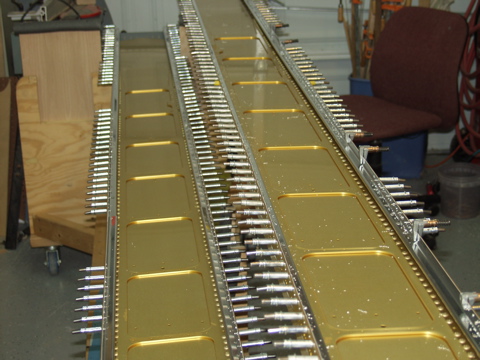
The wing kit consists of two crates: A long, narrow one, and a flat, wide one. The long one holds the spars and a lot of the smaller stuff, while the flat one holds the skins and the wingtips and the ribs and stuff.
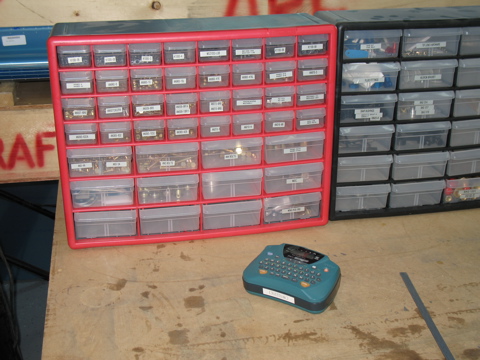
I enjoy doing the inventory on each subkit because it gives me a chance to look over each piece and imagine where it goes and what it does. It is also a chance for my anal-retentiveness to kick in while I organize every last washer, and make labels for the drawers in my parts bin. |
 |
| |
|
I slowly unpacked each and every skin, spar, stiffener, and screw. I'm happy to report that everything was present and accounted for.
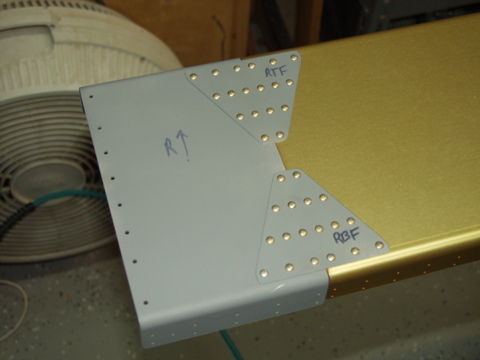
One thing that I wasn't expecting was the stall warning switch included in the kit. Van's has given us a Cessna-style stall warning switch as part of the kit, complete with a piezo-electric buzzer. I didn't know that this was part of the kit, and I also figured out that the hole is already cut in the wing skins for the vane. So, I guess my RV-10 will have a stall warning. Wee. |
 |
| |
|
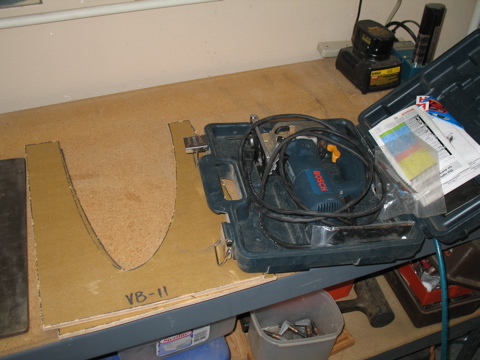
One thing that's on the inventory sheet that isn't technically in the box are the wing rib templates that are drawn on the box. I cut these out with a jigsaw.
I have a set of these from the RV-9A but a quick check revealed that the shape is different, so I don't think I'll be able to use the old ones. |
 |
| |
|
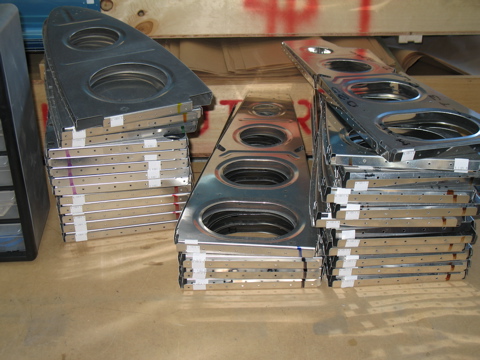
There are lots of ribs in this kit. Probably even more than the -9A, since the wings are bigger. Some of these are technically fuel tank ribs.
After a long evening of double-checking the inventory list against the physical parts, I'm done with the inventory and ready to commence with building. |
 |
| |
|
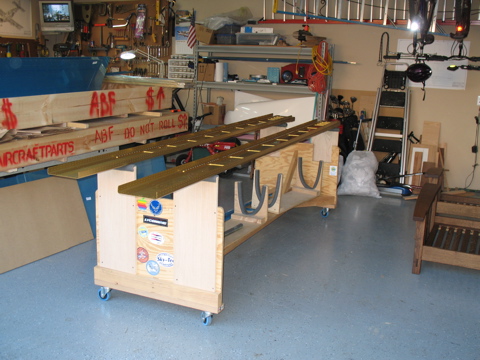
11/11/06 - Setting up - 2.5 hours
On my last airplane I built a frame in my garage for holding the wings during construction. This frame was not meant as a jig, but just a holder. It worked well but I couldn't open the garage door.
I also had built a wing cart to hold the wings after they were built. I saved the cart. I'm thinking of using the cart for constructing the new wings. So I made a couple of modifications. I mounted some extensions on it to raise the spars to a more workable height. I think this should suffice for most of the work I need to do on the wings. We'll see. |
 |
| |
|
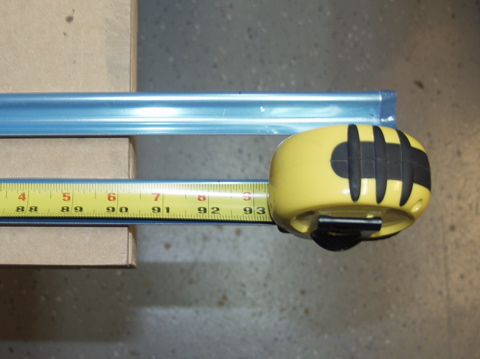
With the wing cart taken care of, I finally started working on the wings themselves. It all starts with the extensions.
|
 |
| |
|
Here are the parts all deburred. I need to prime them before I can install them permanently on the spars.
|
 |
| |
|
11/12/06 - Spar Work - 3 hours
I would have gotten more work done on the wings this weekend, but I flew the -9A instead. I put a total of 8 hours on the plane. I flew one of my sons to Lubbock, Texas to visit a friend. I flew out there Saturday to drop him off, and then I flew back to get him on Sunday. I really enjoy flying the -9A and hope that the -10 flies just as well.
Today I was able to prime the spar extension parts. I used the Sherwin Williams 988 rattle can stuff since there were so few parts to prime. |
 |
| |
|
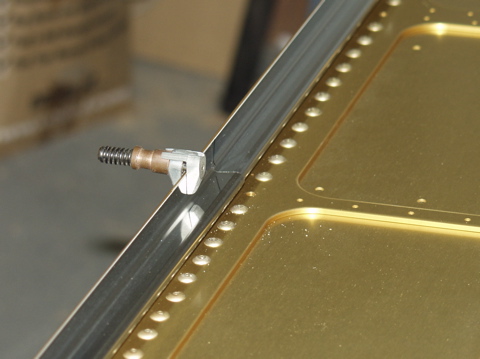
These rivets can't be squeezed due to the width of the spar flange. So instead I used the rivet gun.
I guess I didn't already say this, but I am building both wings at once. I did this on the -9A and it worked out well. It's double the work, but when you're done, you're done. Also, it's easier to make sure you're using the right parts, because you can compare them to the mirror image on the other wing. |
 |
| |
|
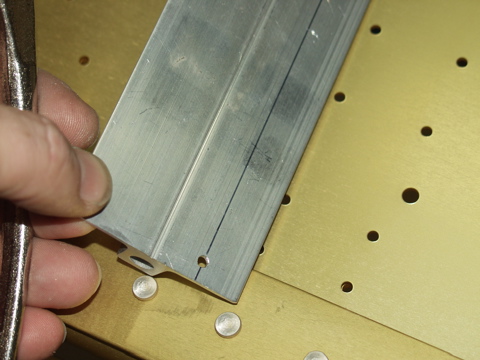
Next are the spar j-stiffeners. I measured them to the correct length and cut them on the bandsaw. |
 |
| |
|
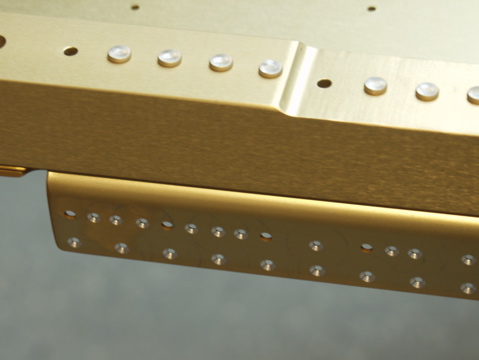
The j-stiffeners overlap each-other, with the short stiffener overlapping the long one. |
 |
| |
|
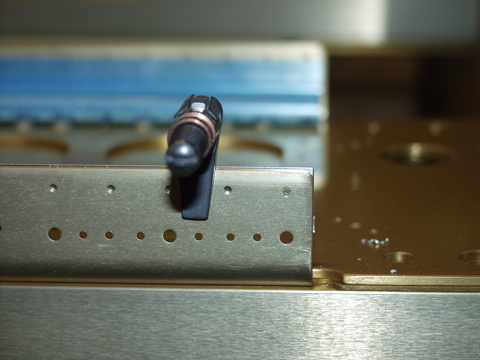
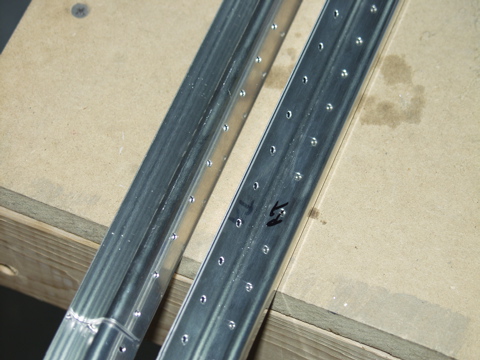
The stiffeners are match-drilled using the holes in the spar as guides. The stiffeners are placed with about a 1/16" exposed lip. There are also some holes which are not drilled at this time.
|
 |
| |
|
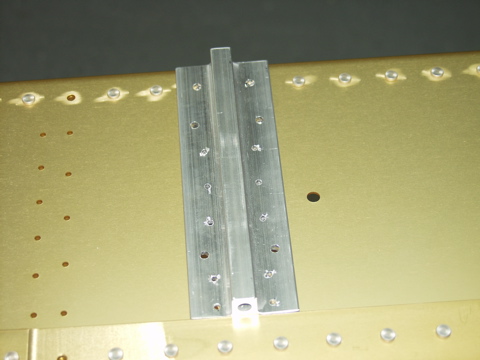
11/13/06 - J-Stiffeners - 3 hours
Tonight I spent the entire evening match drilling (and then deburring) the J-stiffeners to the spar flanges. I'm sure each of these holes (in the spar) will eventually need to be countersunk as well, but for now all I'm doing is drilling.
|
 |
| |
|
When I finished I had eight pieces of J-stiffener that I had drilled and marked. I now get to set these aside for a later step.
|
 |
| |
|
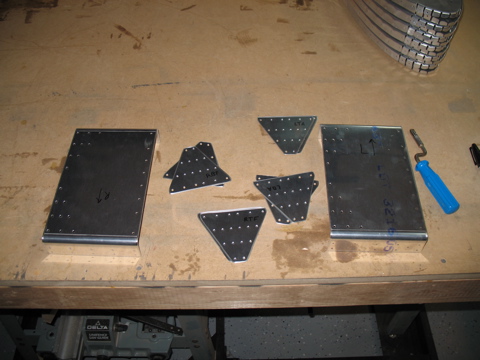
11/14/2006 - Countersinking - 3.5 hours
Man, there are a lot of holes to countersink. I spent the entire evening with the machine countersink tool chucked into my air drill. After three and a half hours my arms were like jello, but the holes are countersunk.
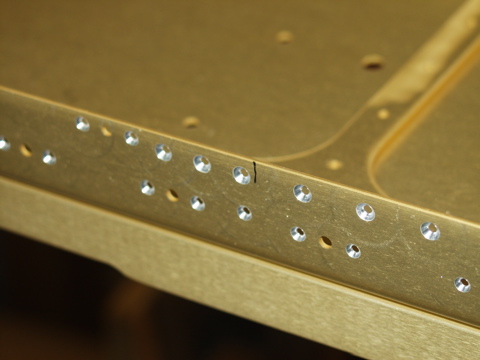
The holes for the platenuts are countersunk only deep enough to accept an AN426 rivet head. The other holes are deeper to accept the dimpled wing skins. |
 |
| |
|
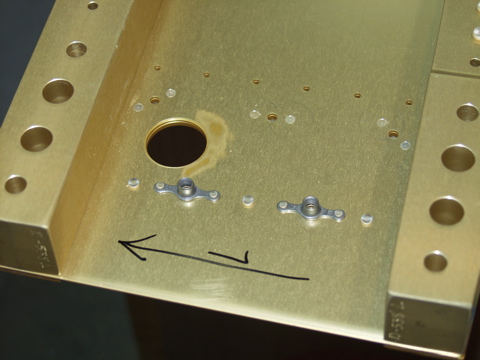
The next thing to do is to install the platenuts that will hold the fuel tanks in place. I'm going to have to wait until tomorrow to do that. |
 |
| |
|
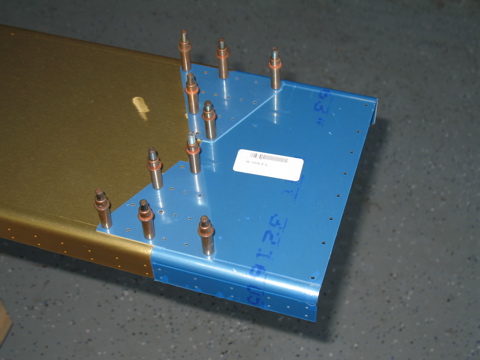
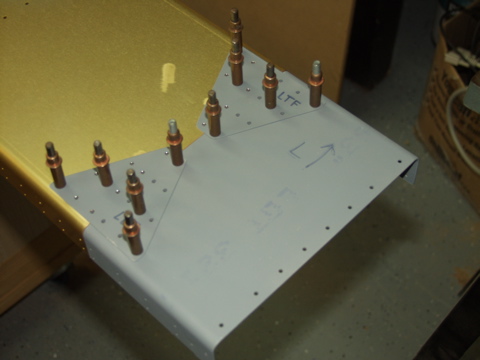
11/15/2006 - Platenuts - 2.5 hours
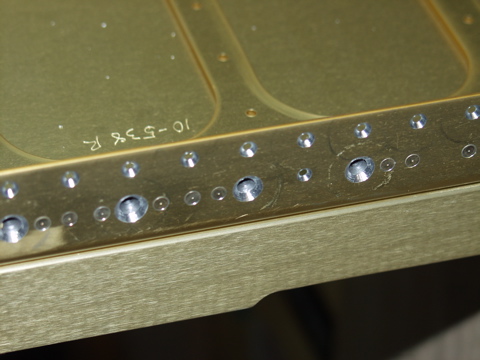
Yes I did work on the platenuts. I got all of the tank attach platenuts installed on both spars.
Let me give a little plug here for the pneumatic squeezer. It is worth every penny I spent on it. There are few tools which offer so much immediate gratification. When used correctly, the squeezer makes perfectly formed rivets every time. |
 |
| |
|
Next I had to countersink the screw holes. The interesting part here is that I had to use a #30 countersink so that the pilot would fit inside the platenut, which acts as the guide.
One thing I did differently here was to make sure that the skin will sit flat when the dimple goes into the countersink. On the -9A I have noticed that the skins between the screws are a bit "puffy." I think this is because I was a bit timid about countersinking these holes. So on this plane I have made sure that the countersinks are machined deep enough to accept the dimpled skin. |
 |
| |
|
11/16/2006 - More Platenuts - 4 hours
Okay, so the last of the platenuts on the spar were on my list tonight. I installed the ones for the access panels, and the ones on the spar web. |
 |
| |
|
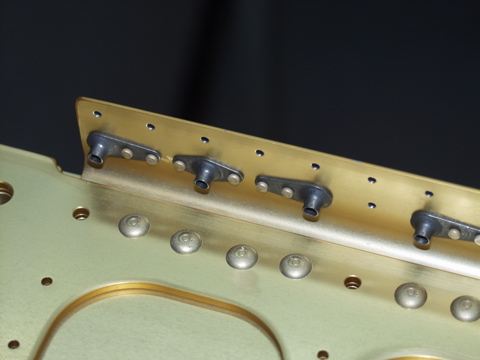
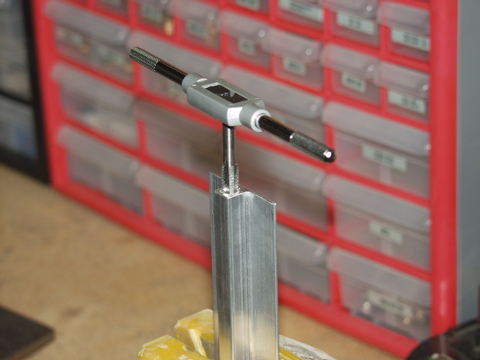
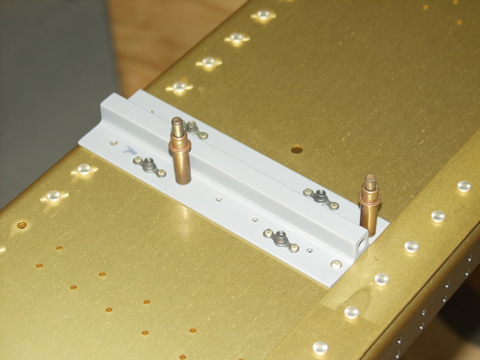
With all that done (it took way longer than that) it was time to move on to the tiedown brackets. I started by cutting them to the correct length and then tapping them with a 3/8" tap.
There will someday be tiedown rings screwed into these brackets. |
 |
| |
|
The instructions had me drill a #30 starter hole. I went ahead and made a line through the center of the hole along the length of the bracket so I could more accurately position the bracket when I was drilling it. When the bracket was sitting in place I could look through the other rivet holes and see the line. By centering the line in the holes, I could match drill the remaining holes exactly where I wanted.
|
 |
| |
|
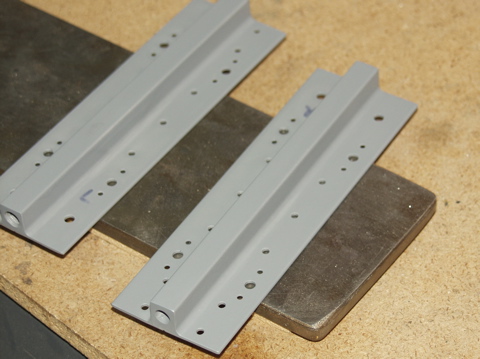
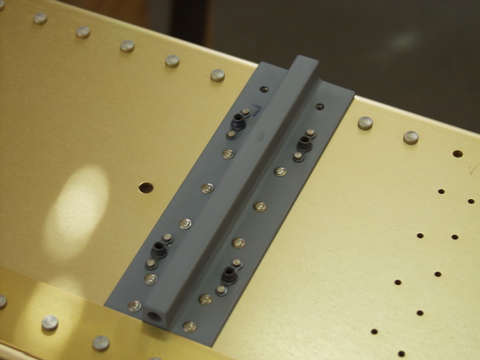
Here is one of the brackets all match-drilled.
|
 |
| |
|
After drilling the holes for the platenuts, I went ahead and primed the brackets.
|
 |
| |
|
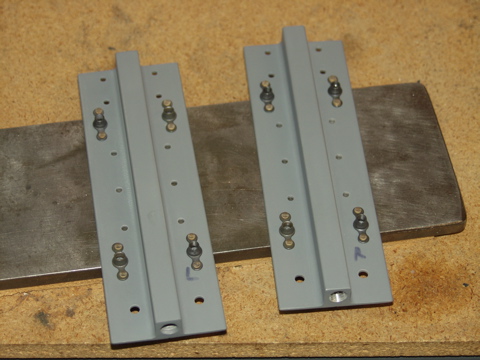
| Here are the brackets with the platenuts installed. |
 |
| |
|
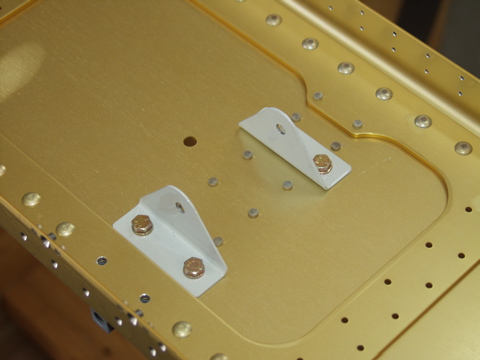
Everything is ready for the final installation of the brackets, but it's too late at night to run the rivet gun, so it will have to wait until tomorrow.
|
 |
| |
|
11/18/2006 - Tiedown Bracket - 2 hours
I didn't do any work on the plane yesterday because I spent most of the day flying. I flew the RV-9A down to Austin to bring my son to UT for a campus visit. It was a lot of fun flying, but flying into big airports is always stressful to me.
Anyways, today I didn't get a lot of work done either because my dad was in town, but I did get the tiedown bracket installed. |
 |
| |
|
These are the first bolts installed in the plane. Interestingly, on the -9A I attempted to torque these with a cheap Harbor Freight torque wrench. It didn't work properly and I torqued the bolt head right off! Soon after that I bought a good torque wrench.
Next: Wing Ribs |
 |

