Home
Overview
Links

Empennage
Inventory
Vertical Stabilizer
Rudder
Horizontal Stabilizer
AirVenture 2006
Horizontal Stab. Cont.
Elevators
Elevators Part 2
Tailcone

Wings
Main Spar
Main Ribs
Rear Spar/Top Skins
Leading Edges
Fuel Tanks
Fuel Tanks continued
Ailerons
Flaps

Fuselage
25-26:Getting Started
27:Firewall
28:Forward Ribs/Skins
29:Fuse Side Skins
30-31:Steps, Fwd Fuse
32-33:Tailcone, Baggage
34-35:Baggage Door, Etc.
36-37:Brake & Fuel Lines

Finishing Kit
38-39:Brake/Rudder Pedals
40-41:Flaps/Fwd Fuse
42:Cabin Top
Instrument Panel
43:Cabin Cover
45:Doors
Overhead Console
45:Doors (cont)
Door Latch
More Door Work
Landing Gear
Misc. Stuff
Panel Work
Wingtip Lights
Cowl Work
Baffling
Intake
Wing Work
Empennage Tips
Empennage Attach
Wing Attach
Rigging
Final Prep Work
More Final Prep
Gear Fairings
Inspection and First Flight

Firewall Forward
Engine Installation

Systems
Instruments
Antennas
Wiring


Previous: Door Stuff


6/27-7/10/10 - Landing Gear/Brakes - 10 hrs

I was pretty busy through the Independence Day weekend, but I did get a chance to work on the plane on and off. My engine was scheduled to arrive sometime soon, so I had to get ready for it.

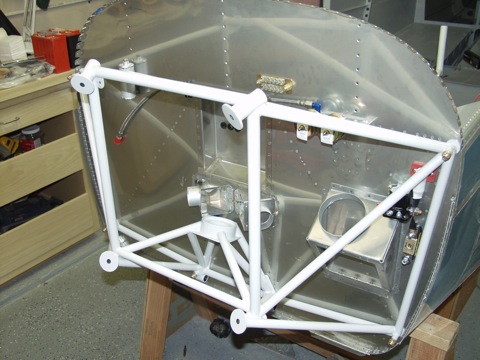
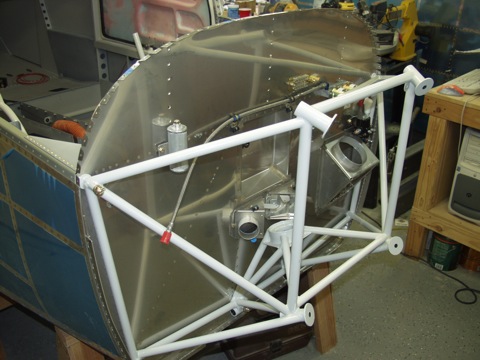
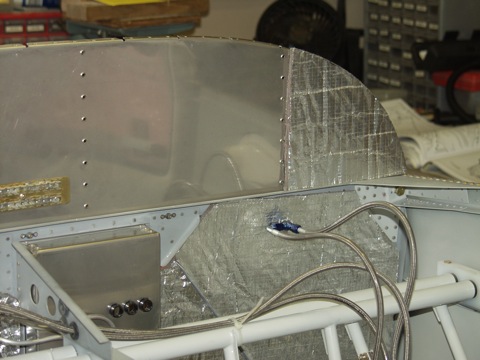
The first thing I had to do was to install the engine mount. In preparation, I also had to install the air intake valves and proseal them to the firewall. I also installed the firewall pass-through for the electronic ignition.

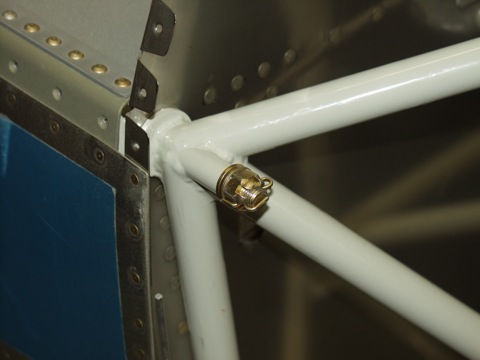
The engine mount went on fairly easy. I can't say that I really had any troubles at all other than deburring the stainless steel.


Another task that I had left unfinished was cutting the firewall insulation to fit between the ribs. So I did that in hopes that I could install the instrument panel soon.


Onward to the wheels. On the RV-9A, I got pretty good at destroying inner tubes. So I was extra careful when assembling these wheels to hopefully avoid such problems. These wheels are larger than those on the -9A, so they were a bit easier to work with.


I didn't get any pictures while I was messing around with the wheels. Nor did I think of taking pictures of me trying to get the main gear legs up into the fuselage correctly.

I will mention that I ordered the specified chucking reamer for installing the legs.


8/6 - 8/9/2010 - Pitch Servo, etc. - 15 hrs


Next: Engine Installation