Previous: Section 40 - 41 |
| |
|
5/7/09 - Section 42 - Cabin Top- 4 hours
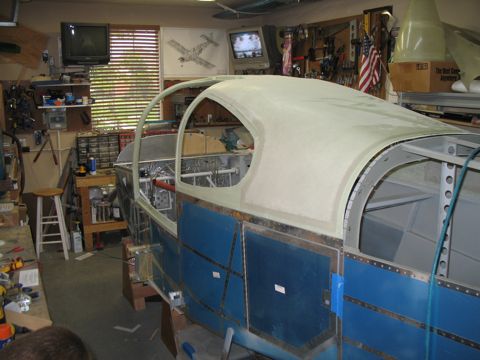
Finally I am at the point where I need to face the long-anticipated installation of the cabin top. It has been hanging in my garage for a long time, but today we moved it down to the sawhorses and I began the process of trimming. |
 |
| |
|
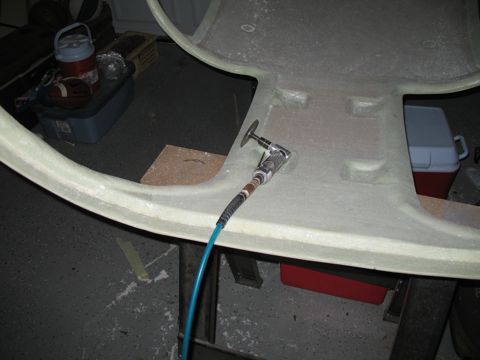
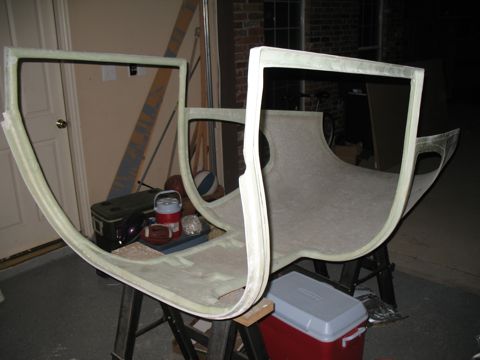
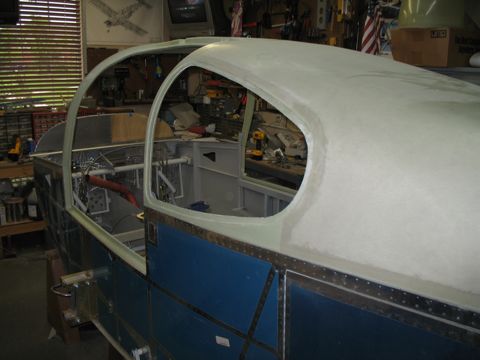
There are several areas of concern when trimming the cabin top. The first is the area around the door openings. This area must be trimmed so the part will fit between the bulkheads. You have to remove almost all of the material just to make it fit, but you can't just lop it off in one pass. I started by removing the material at the scribe lines that vans provides. These are nowhere near where you eventually cut to, but it's at least a starting point. After 7 or 8 passes, I finally got it trimmed to a point where it would sort of fit on the fuselage.
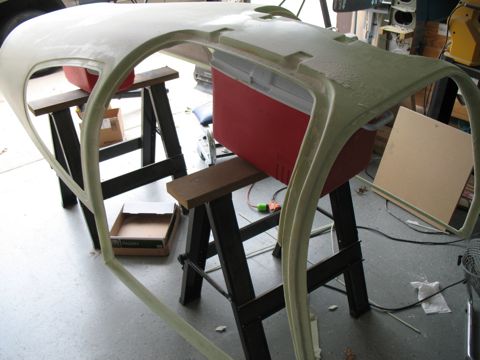
The next area of concern are the flanges along the rear and bottom of the cabin top. These rest just above the upper longerons on the fuselage and must be no more than 3/4" tall. |
 |
| |
|
5/8/09 - More trimming - 4 hours
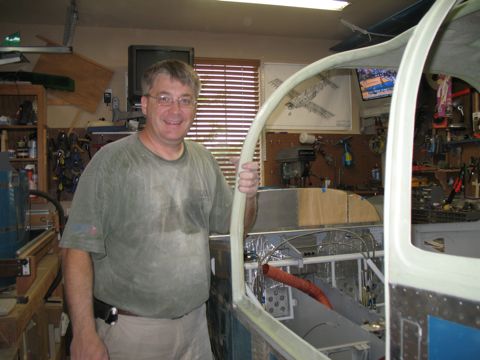
There's a ton of dust generated by this process. I wear a dust mask.
I just realized that I haven't included many pictures of myself actually working on the plane. So here is one that we took right after the first successful fitting of the cabin top. |
 |
| |
|
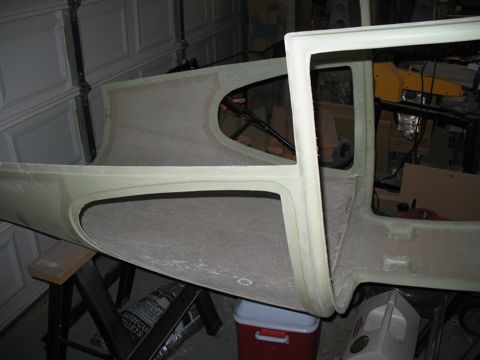
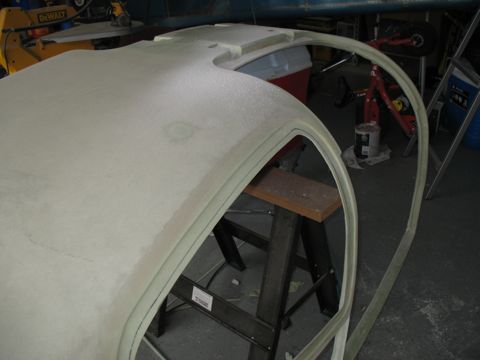
Once I got the cabin top sort of fitting on the fuselage, the next step was to trim the corner so it will fit snugly into the corners.
|
 |
| |
|
It's getting a little better.
|
 |
| |
|
Back to the sawhorses for more trimming.
|
 |
| |
|
5/9/09 - More Trimming - 8 hours
The next thing I did was to trim down the openings for the doors. There are scribe lines here as well, and I'm sure I will have to trim more, but this at least gets it started.
Did I mention the dust? There's lots of it. |
 |
| |
|
| |
 |
| |
|
The rear window openings also need to be trimmed.
|
 |
| |
|
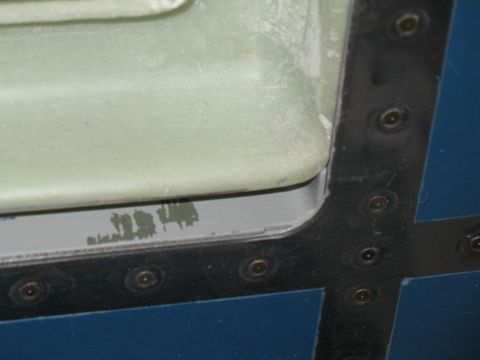
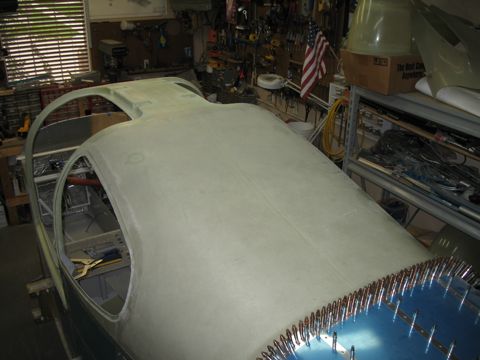
Here we are with the cabin top back on the fuselage.
I had to remove some additional material along the back of the cabin top so that it would sit nicely against the baggage bulkhead. |
 |
| |
|
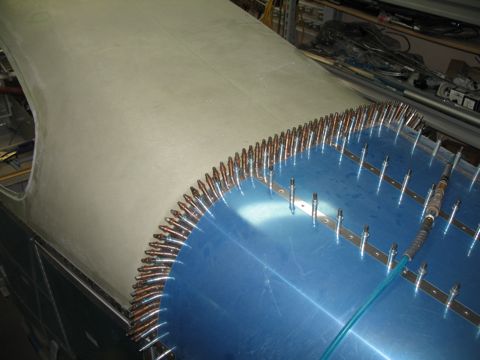
Next, I installed the tailcone top skin and match-drilled the rivet holes into the fiberglass.
|
 |
| |
|
This is as far as I got this weekend. I have a bunch of sanding to do inside of the cabin top to level everything out.
Next: Instrument Panel |
 |

