Previous: Firewall |
| |
|
12/9 - 12/11/07 - Section 28 - 7 Hours
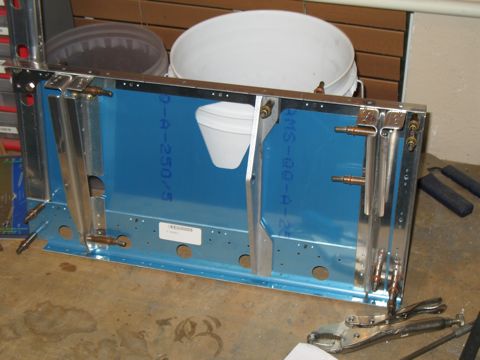
I was moving right along, getting parts deburred and drilled and shaped and assembled. Everything was going great until I came to the inboard seat rail supports. They just wouldn't line up to the holes in the other parts. I tried swapping the left and right sides and it was the same issue. I went back and re-read the instructions. I even reassembled them. Nothing made sense. |
 |
| |
|
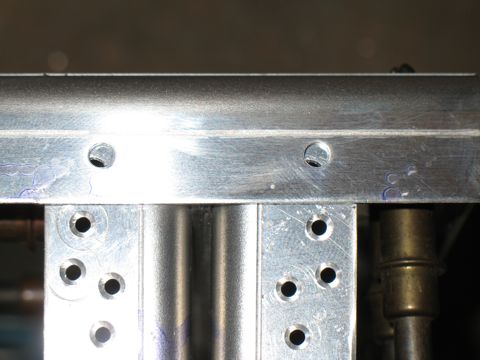
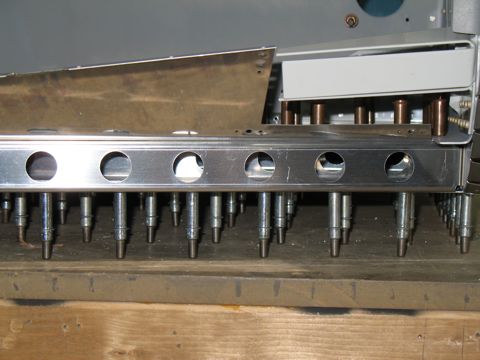
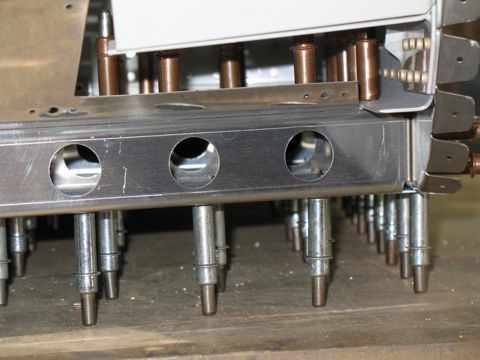
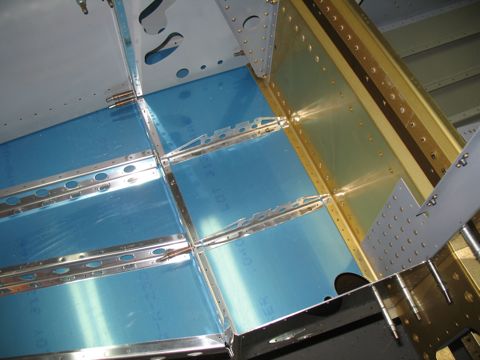
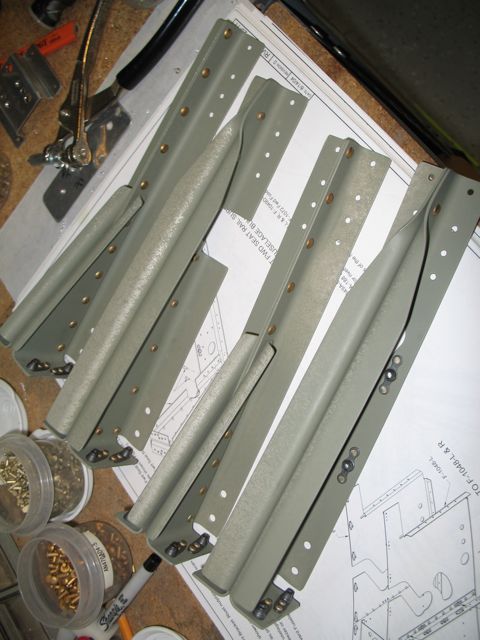
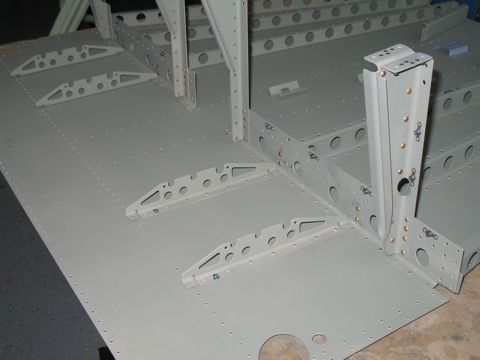
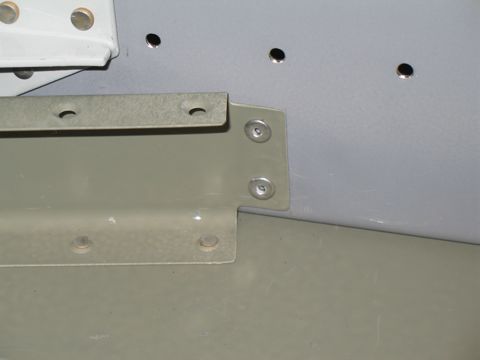
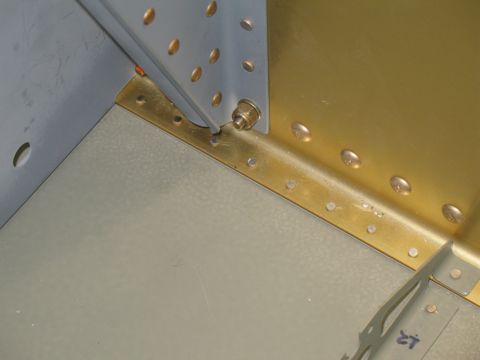
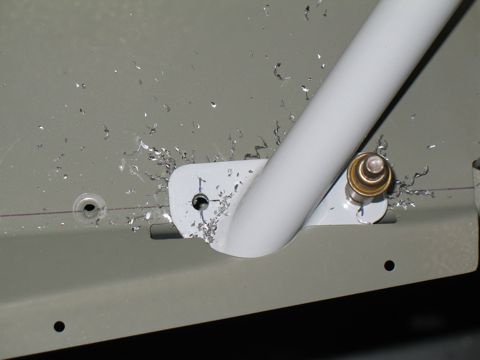
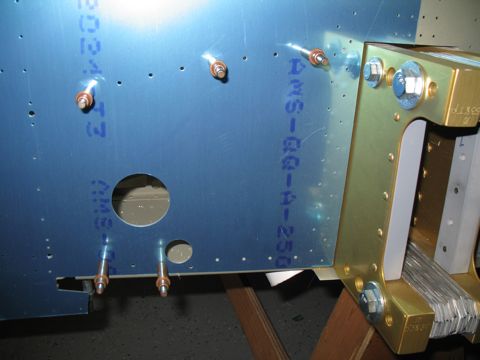
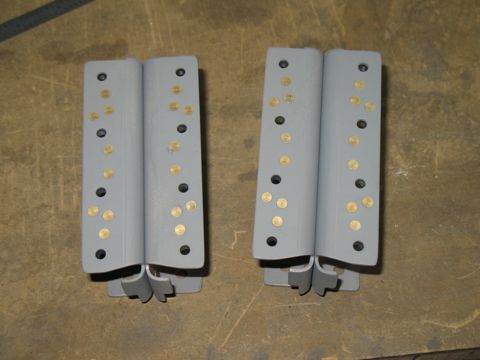
This is a picture taken from the top. Notice that the holes in the flanges don't line up. They're at least 3/16" off
|
 |
| |
|
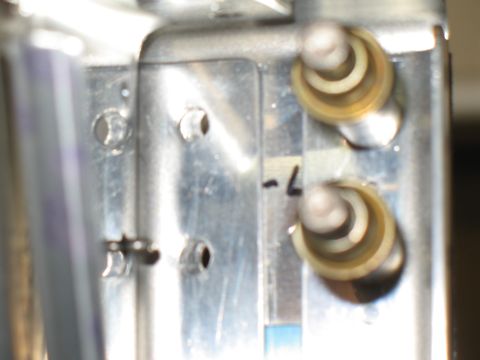
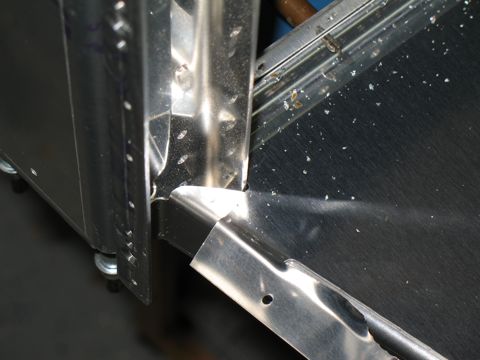
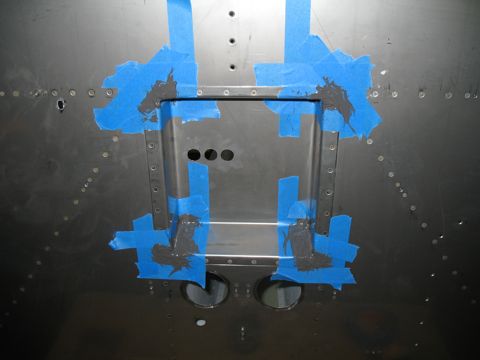
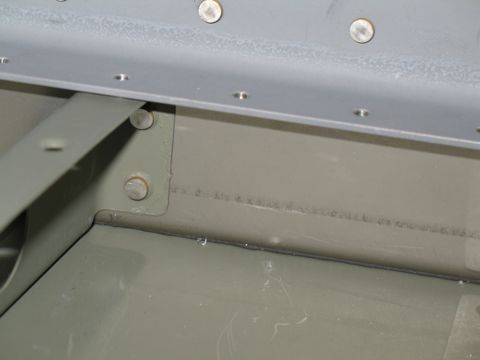
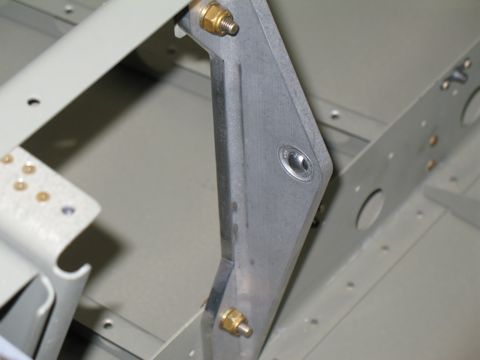
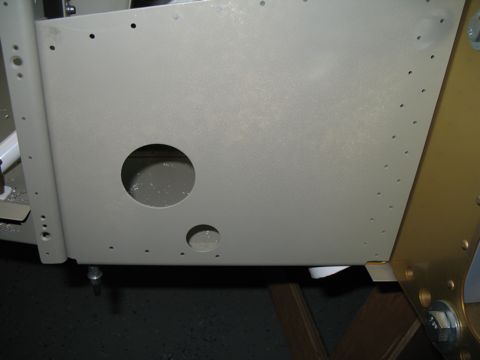
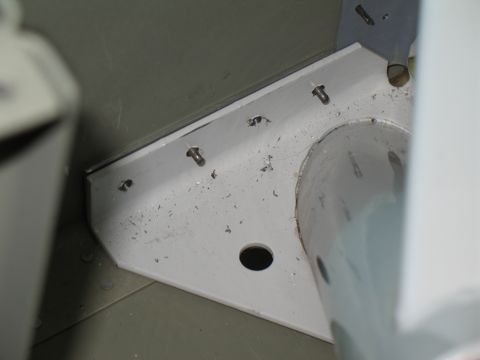
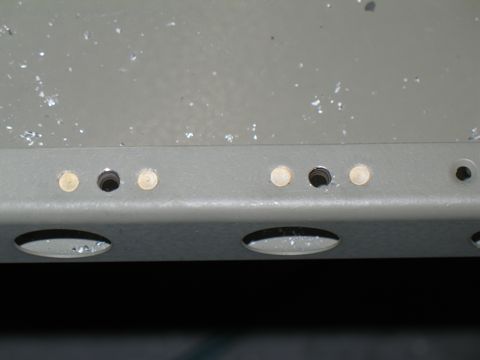
Here's a blurry picture of the attachment to the seat bulkhead. When I clecoed the left side in place, the right side is off by 3/16" or so.
|
 |
| |
|
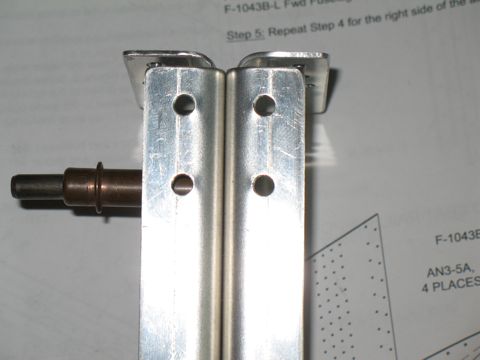
So, I went to the Matronics RV-10 list and did a search. It seems that at least two other builders have reported this issue in the past.
Conclusion: The F1043F-L and F1043F-R angles are drilled wrong.
I plan on calling Van's today to see if they can send me a new set of four angles. |
 |
| |
|
12/16/07 - Forward Bulkhead - 2 hrs
Van's sent me another set of F1043F seat support angles. They were skeptical of what I was describing, but they sent them anyways. Fortunately, when I received the new parts I was able to quickly see that the problem was solved.
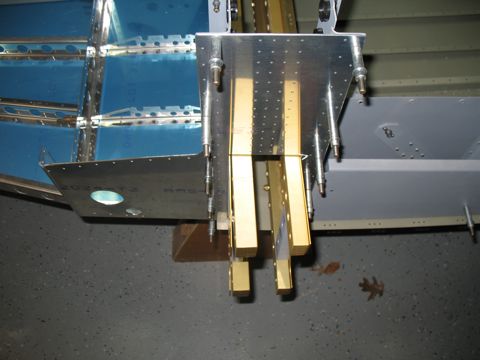
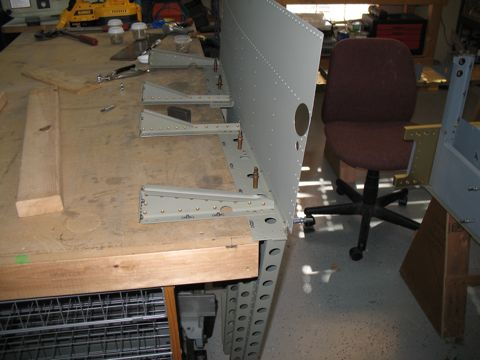
During the wait time, I built a second "shorty" sawhorse to help support the fuselage halves during assembly.
The holidays are upon us and I don't forsee much work being done over the next couple of weeks, but I am happy with the progress I've made lately. |
| |
|
1/5/08 - Forward Bulkhead - 6 hours
Happy New Year! The holidays were great and we had a good time with the family. Now it's time to get back to the process of building the best airplane possible. A couple of things have transpired in the past few weeks:
1. I ordered my finishing kit and firewall forward kit. They are scheduled to be shipped in mid-February.
2. I have received several items for my panel, including my transponder. I hope to write about my panel plans soon.
3. I got several cool new tools for Christmas.
So, getting back to work, I finished doing the rework on the seat rail supports and constructed the forward bulkhead assemblies. These require the installation and removal of a bunch of AN3 hardware. Fortunately, one of my new tools is a Skil Power Wrench. It is a battery powered socket wrench, and it makes installing bolts as easy as pushing a button. |
| |
|
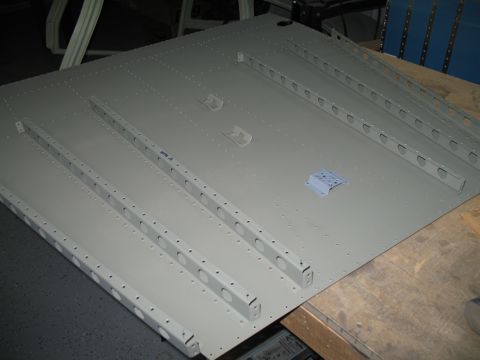
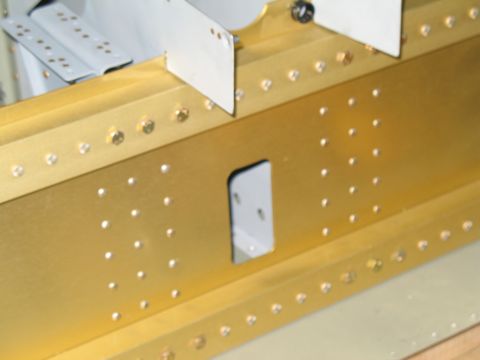
Next, I worked on the forward fuselage bottom skin and the associated ribs. There are lots of holes and angles on these parts, so I spent a lot of time deburring.
|
 |
| |
|
| |
 |
| |
|
| |
 |
| |
|
| |
 |
| |
|
| |
 |
| |
|
| |
 |
| |
|
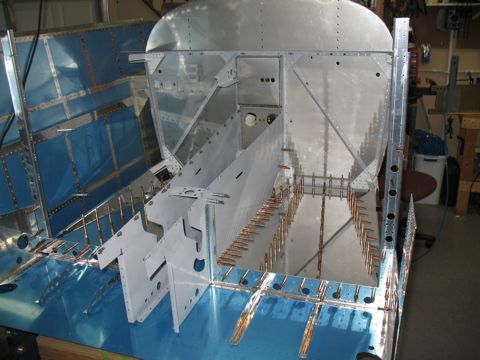
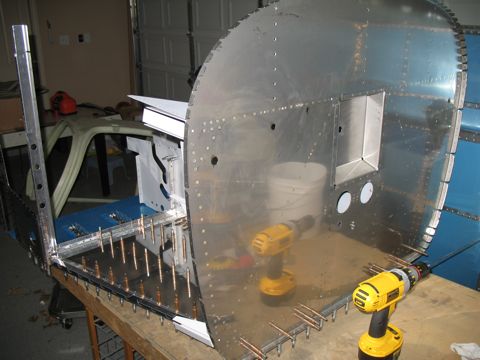
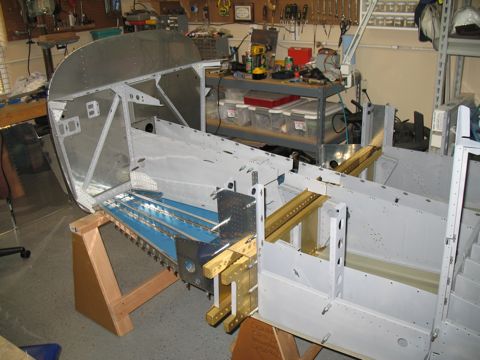
1/6/08 - Forward Fuselage - 6 hrs
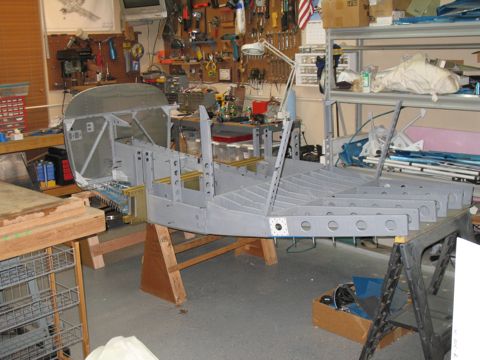
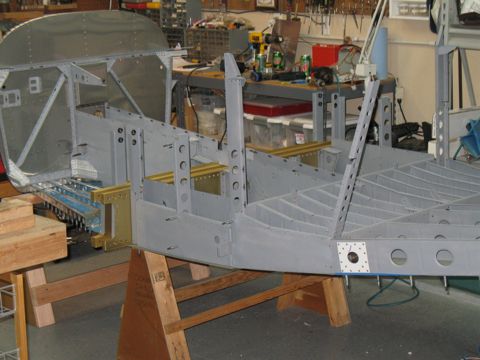
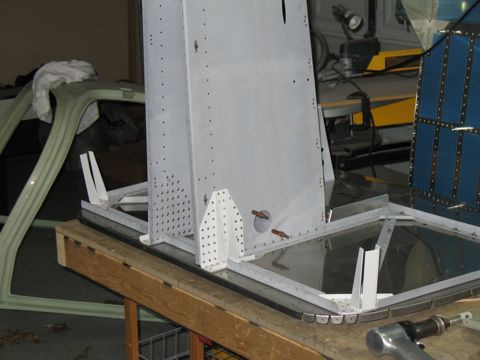
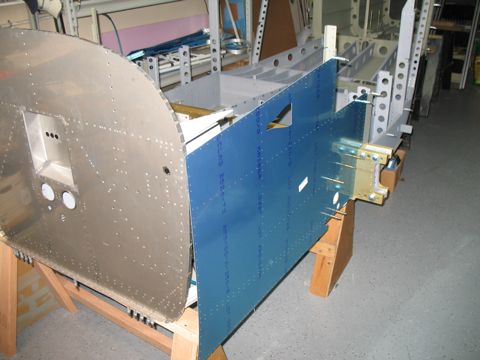
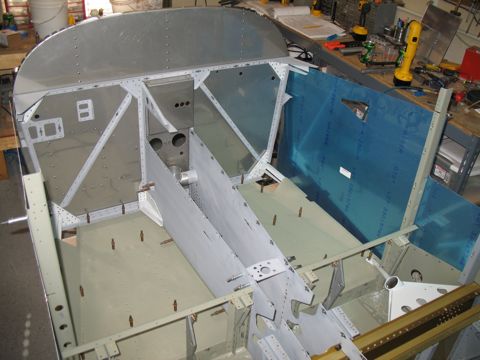
Today I was able to attach the two center spar sections and see what it looks like when the forward fuselage is attached to the mid fuselage. Boy, this is going to be a big plane. I have turned the plane to run the width of the 3-car garage, and it is apparent that it will be a tight fit whenever I install the engine.
Here you can see the short sawhorses I built just for this purpose. |
 |
| |
|
| |
 |
| |
|
| |
 |
| |
|
| |
 |
| |
|
1/7/08 - Deburring, Dimpling - 6 hours
It was fun while it lasted, but it is time to disassemble the forward fuselage parts. Each part had to be deburred and dimpled. Lots of work and not many cool pictures. |
 |
| |
|
1/8/08 - More Deburring and Dimpling - 4 hrs
The dimpling isn't that hard, especially since I have the DRDT-2 dimpling tool. The real pain in the back is the process of scuffing the parts in preparation for priming. This is done with Scotchbrite pads, and isn't a whole lot of fun at all. |
| |
|
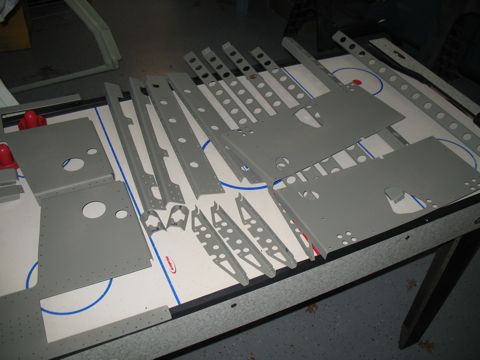
1/9/08 - Priming - 4 hrs
I got all the parts prepped and primed. Yahoo. |
 |
| |
|
1/10/07 - Assembly - 4 hrs
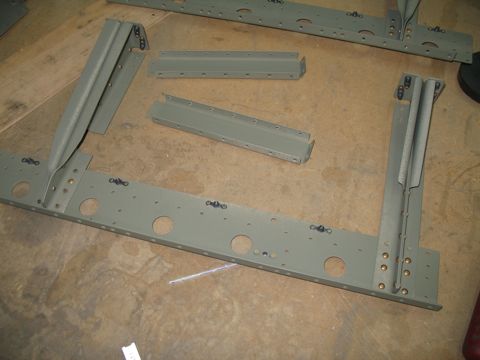
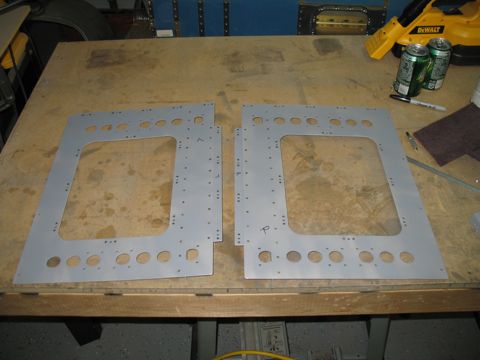
I had deviated from the plans just a bit in order to be able to combine the seat rail supports and the rest of the parts into one large batch for priming. So now that the parts are all primed, I had to go back several pages and assemble the support rails.
The order of assembly is important...don't install the platenuts until after the parts are riveted together, or else you'll have to do like I did and drill out the offending platenuts. |
 |
| |
|
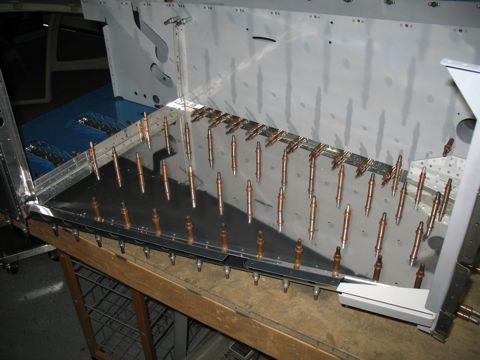
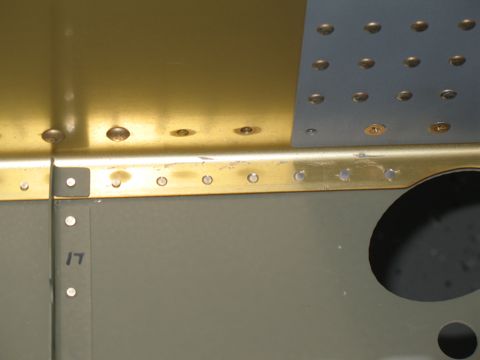
I back-riveted the floor ribs and the fuel system brackets.
I plan to install insulation material in between the floor and the subfloor. |
 |
| |
|
| |
 |
| |
|
The last thing I did today was to dimple the holes in the bottom flanges of each of the forward ribs. |
 |
| |
|
1/11/08 - Riveting - 4 hours
|
 |
| |
|
| |
 |
| |
|
| |
 |
| |
|
| |
 |
| |
|
| |
 |
| |
|
| |
 |
| |
|
1/12/08 - More Assembly - 1 hour
|
 |
| |
|
1/20/08 - Assembly - 3 hours
Riveting |
|
| |
|
1/25/08 - More Riveting - 8 hours
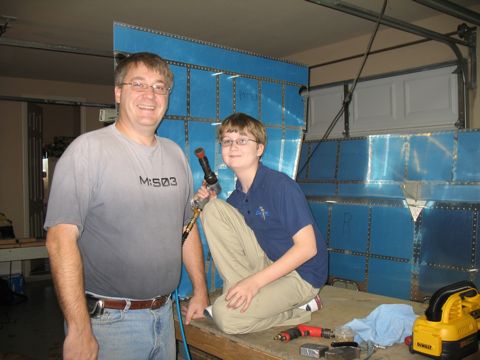
Today I had a prospective builder named Mike come by and look at the project. So I spent a while trying to do my best show-and-tell. It was fun talking to someone who is at the point I was at about five years ago.
Tim helped me finish riveting the center spar |
 |
| |
|
|
 |
| |
|
|
 |
| |
|
| |
 |
| |
|
| |
 |
| |
|
|
 |
| |
|
| |
 |
| |
|
| |
 |
| |
|
1/26/08 - Finishing up section 28 - 6 hours
|
 |
| |
|
| |
 |
| |
|
| |
 |
| |
|
| |
 |
| |
|
| |
 |
| |
|
| |
 |
| |
|
|
 |
| |
|
Finally, section 28 is complete. I think this was the longest single stretch in the plans so far.
Now it's on to section 29 and bending the longerons.
Next: Section 29 |
 |

